


Craft blog by: OOLY
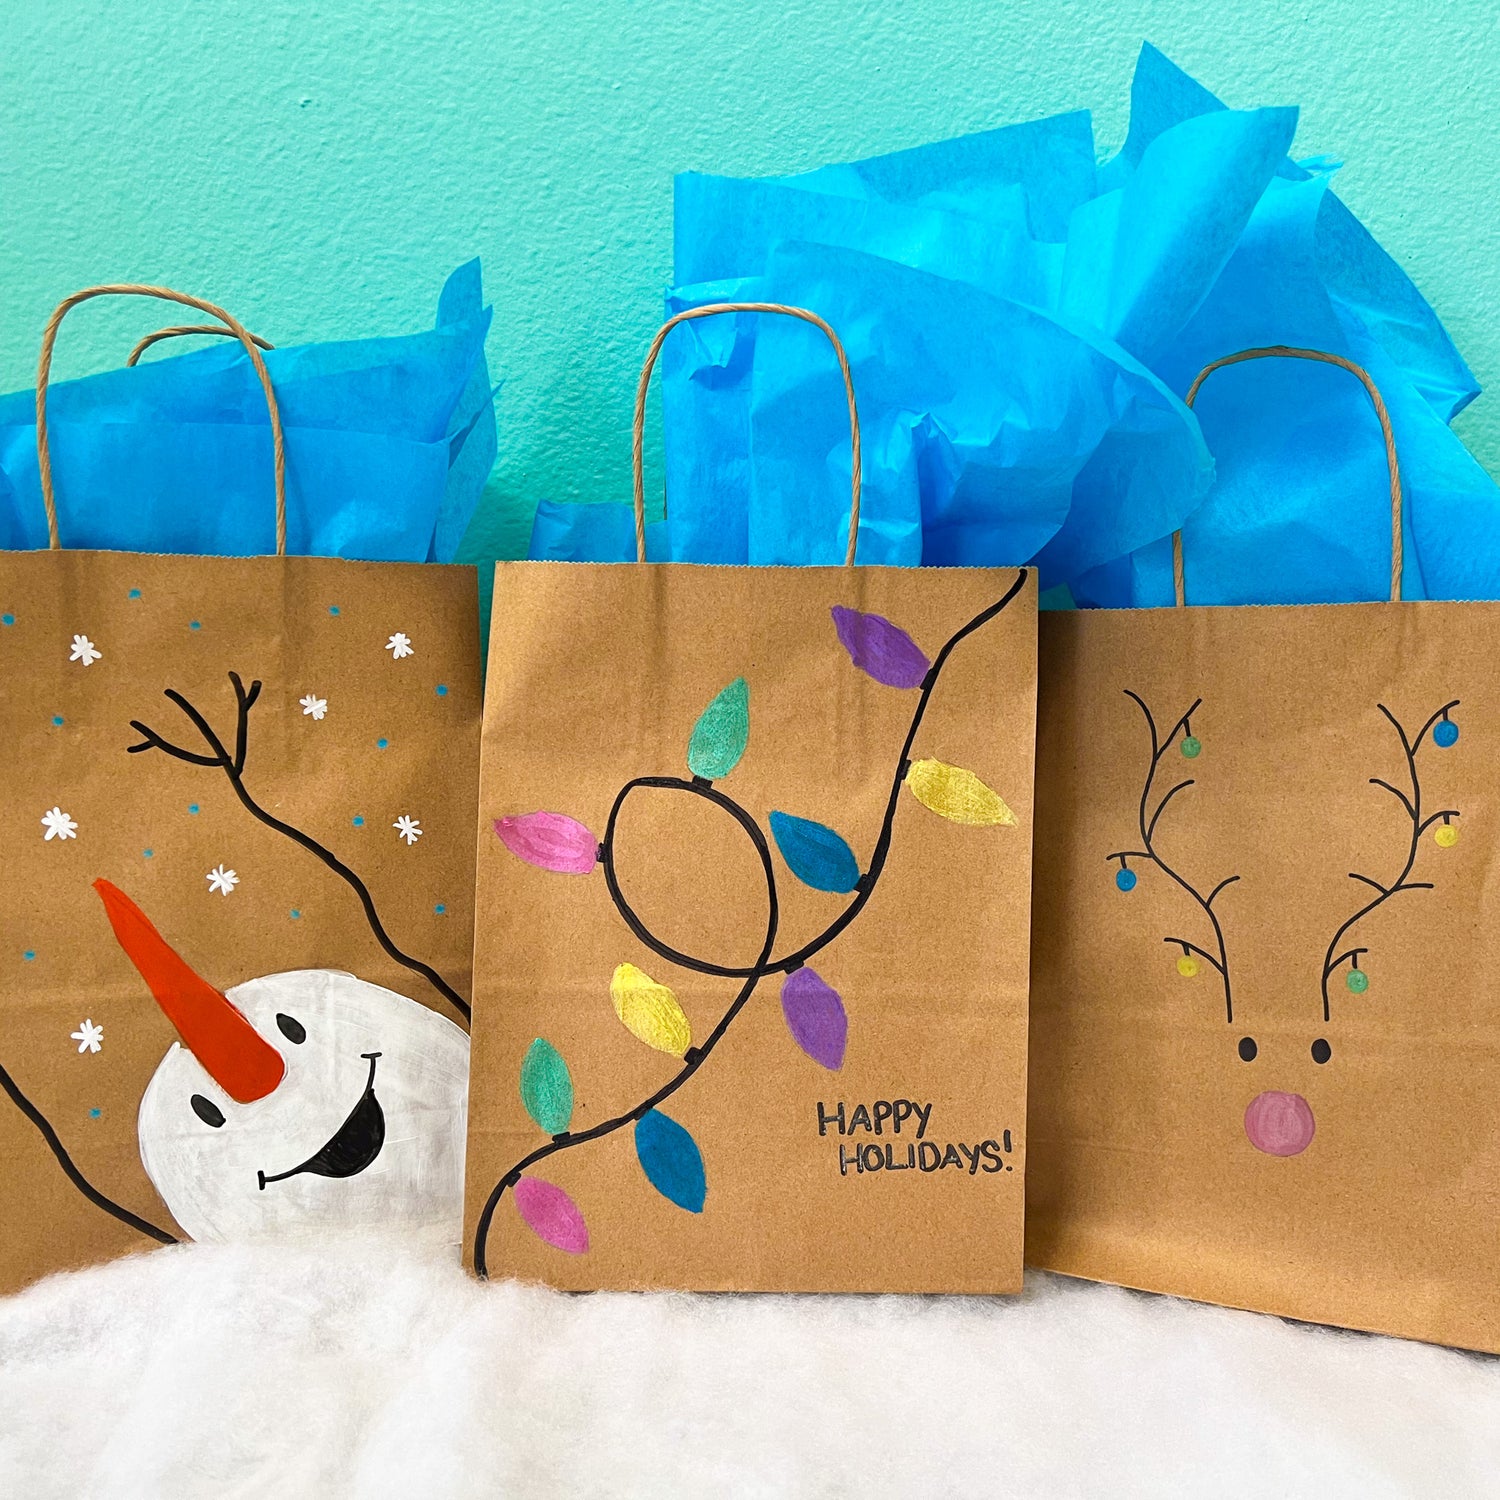
This holiday season, make your gifts truly one-of-a-kind with personalized, festive gift bags! With simple designs like twinkling holiday lights, a whimsical reindeer, and a joyful snowman, you can transform plain brown bags into delightful holiday art. So, gather your OOLY markers, paints, and a dash of imagination—let’s turn gift wrapping into a fun and crafty adventure this year!
Time Duration: 20 minutes + dry time
Skill Level: Beginner
Other Items Needed:
- Brown paper gift bags
- Pencil (optional)
Holiday Lights Bag

Directions:


Step 1: Lightly sketch a looping wire across the bag with a pencil, adding small ovals for the bulbs. Then, trace the wire and bulb outlines using a black OOLY Rainbow Sparkle Glitter Marker.

Step 2: Fill in each bulb with OOLY Rainbow Sparkle Metallic Watercolor Gel Crayons and OOLY Rainbow Sparkle Glitter Markers, alternating bright colors like pink, blue, green, yellow, and purple for a festive look.

Step 3: Finish by adding a fun holiday message like "Happy Holidays" using OOLY Rainbow Sparkle Glitter Markers. Let your imagination shine as bright as the lights!
Reindeer Bag

Directions:

Step 1: Lightly sketch the reindeer’s face on the bag with a pencil—draw a large round nose at the bottom center and two big antlers extending from the top of the bag. Keep it simple and cute!

Step 2: Use OOLY The Ink Works Markers to trace over the pencil lines, outlining the reindeer’s nose and antlers. For the nose, you can color it in black or leave it open for a bright color later.

Step 3: Using the OOLY Vivid Pop! Water-Based Paint Markers Metallic, draw fun ornaments hanging from the antlers—colorful round balls, stars, or even tiny presents. Use bright, bold colors to make them stand out and give your reindeer some festive flair!
Snowman Bag

Directions:

Step 1: Lightly outline a snowman’s head in the corner of the bag using a pencil. Draw the snowman’s arms reaching up as if he's joyfully welcoming the winter fun!

Step 2: Use OOLY Paintology Acrylic Paint Set to bring your snowman to life! Paint their head, carrot nose, and arms. Let the paint dry before moving on.

Step 3: Use black paint from OOLY Paintology Acrylic Paint Set to create two cheerful eyes and a smile across the snowman’s face. Feel free to make the smile wide and jolly to capture that classic snowman charm!

Step 4: Using OOLY Vivid Pop! Water Based Paint Markers, draw snowflakes around the snowman to create a wintery scene. Feel free to add any extra details or decorations to make your snowman unique!
These DIY holiday gift bags are not only fun to create but also add a thoughtful, handmade touch to your presents that everyone will love. Whether it’s the colorful holiday lights, the charming reindeer, or the festive snowman, each bag brings its own bit of cheer to the season. So, grab your OOLY crafting supplies, gather some friends or family, and start decorating! Your holiday gifts are sure to stand out under the tree with these festive, handmade bags.
We would love to see photos of your craft projects! Tag us on Instagram at @WeAreOOLY using #OOLYcreateyourhappy.


