


Craft blog by: OOLY
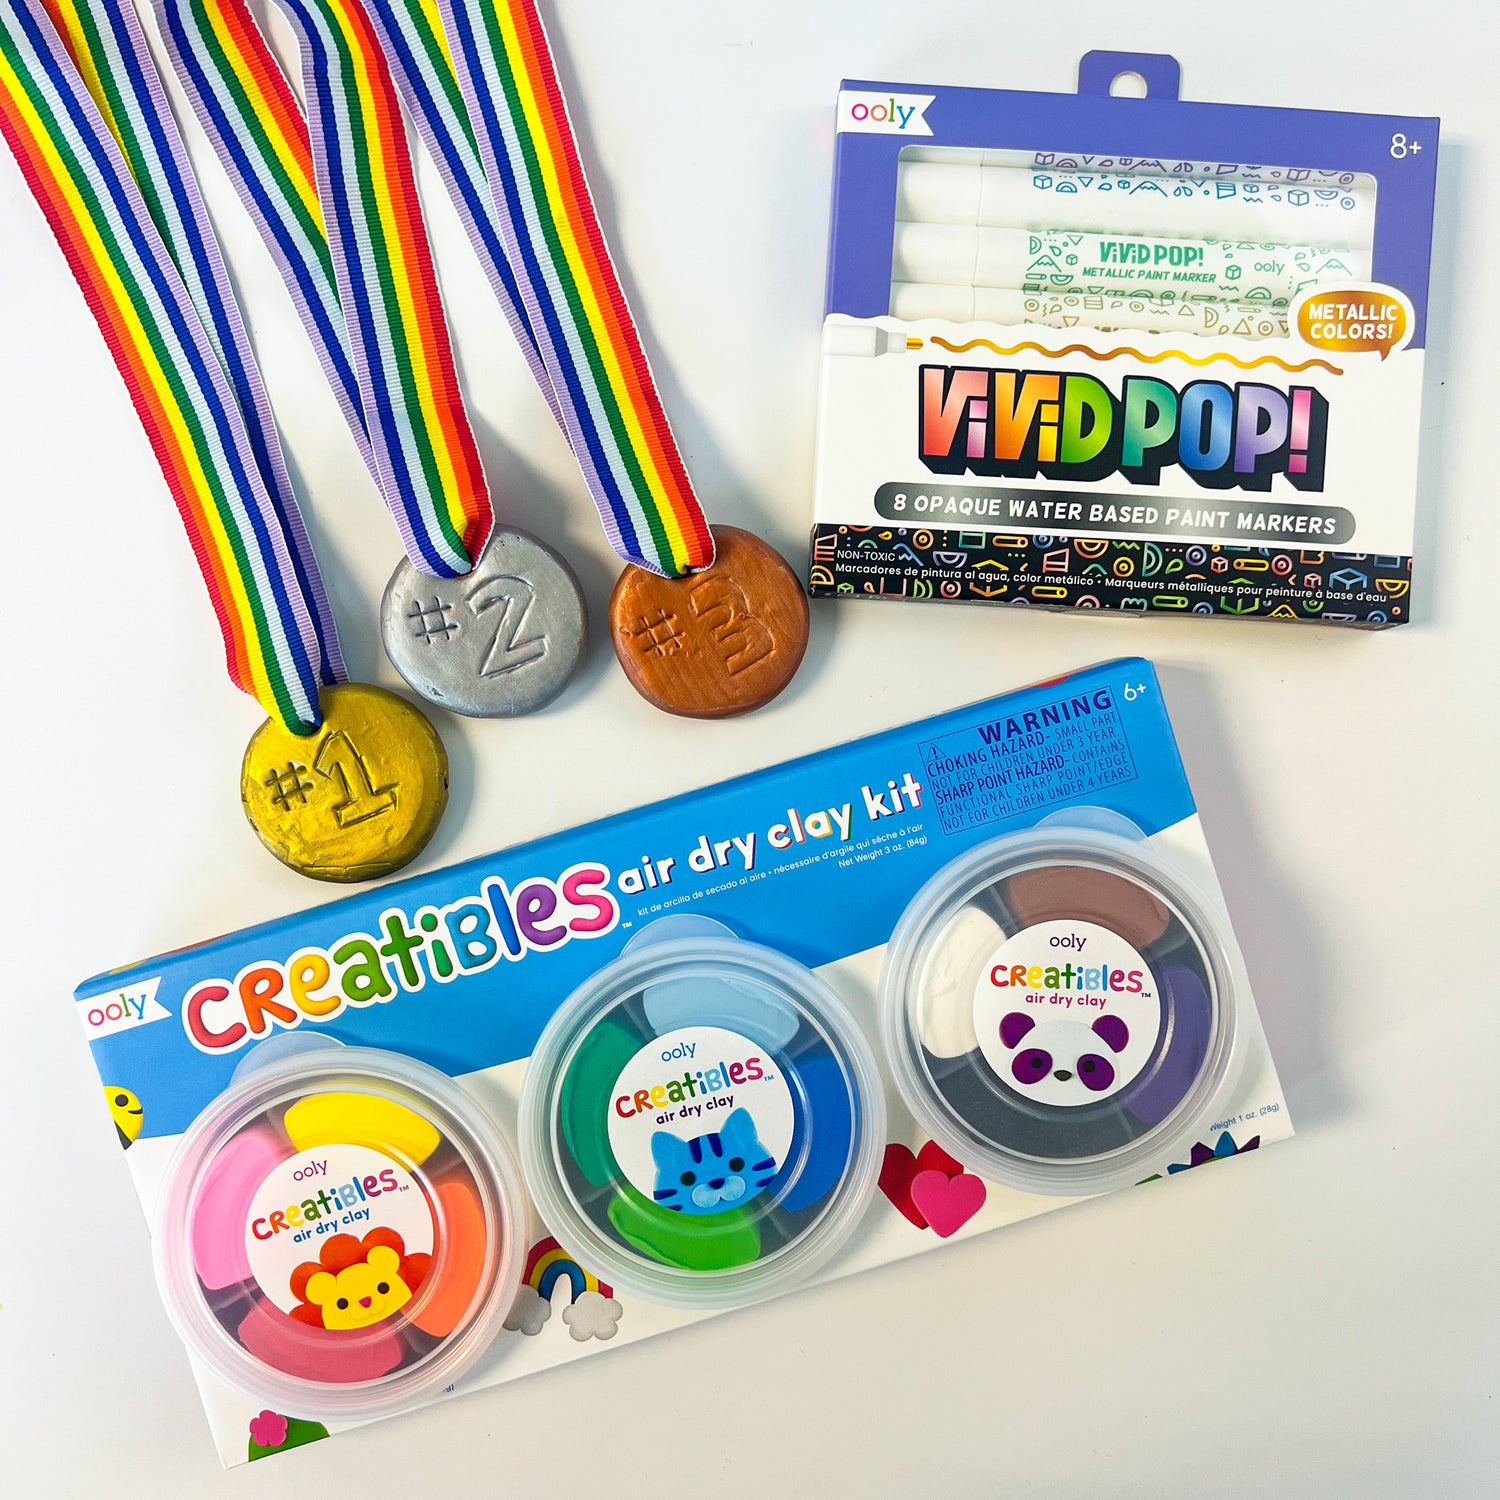
Have you ever wanted to create your own medals to celebrate achievements? Whether for sports, academic wins, or just for fun, crafting unique clay medals with OOLY products is a blast! In this DIY adventure, we'll show you how to mold, shape, and use OOLY’s vibrant markers to color the air dry clay into gold, silver, and bronze medals.
Time Duration: 30 minutes + drying time
Skill Level: Beginner
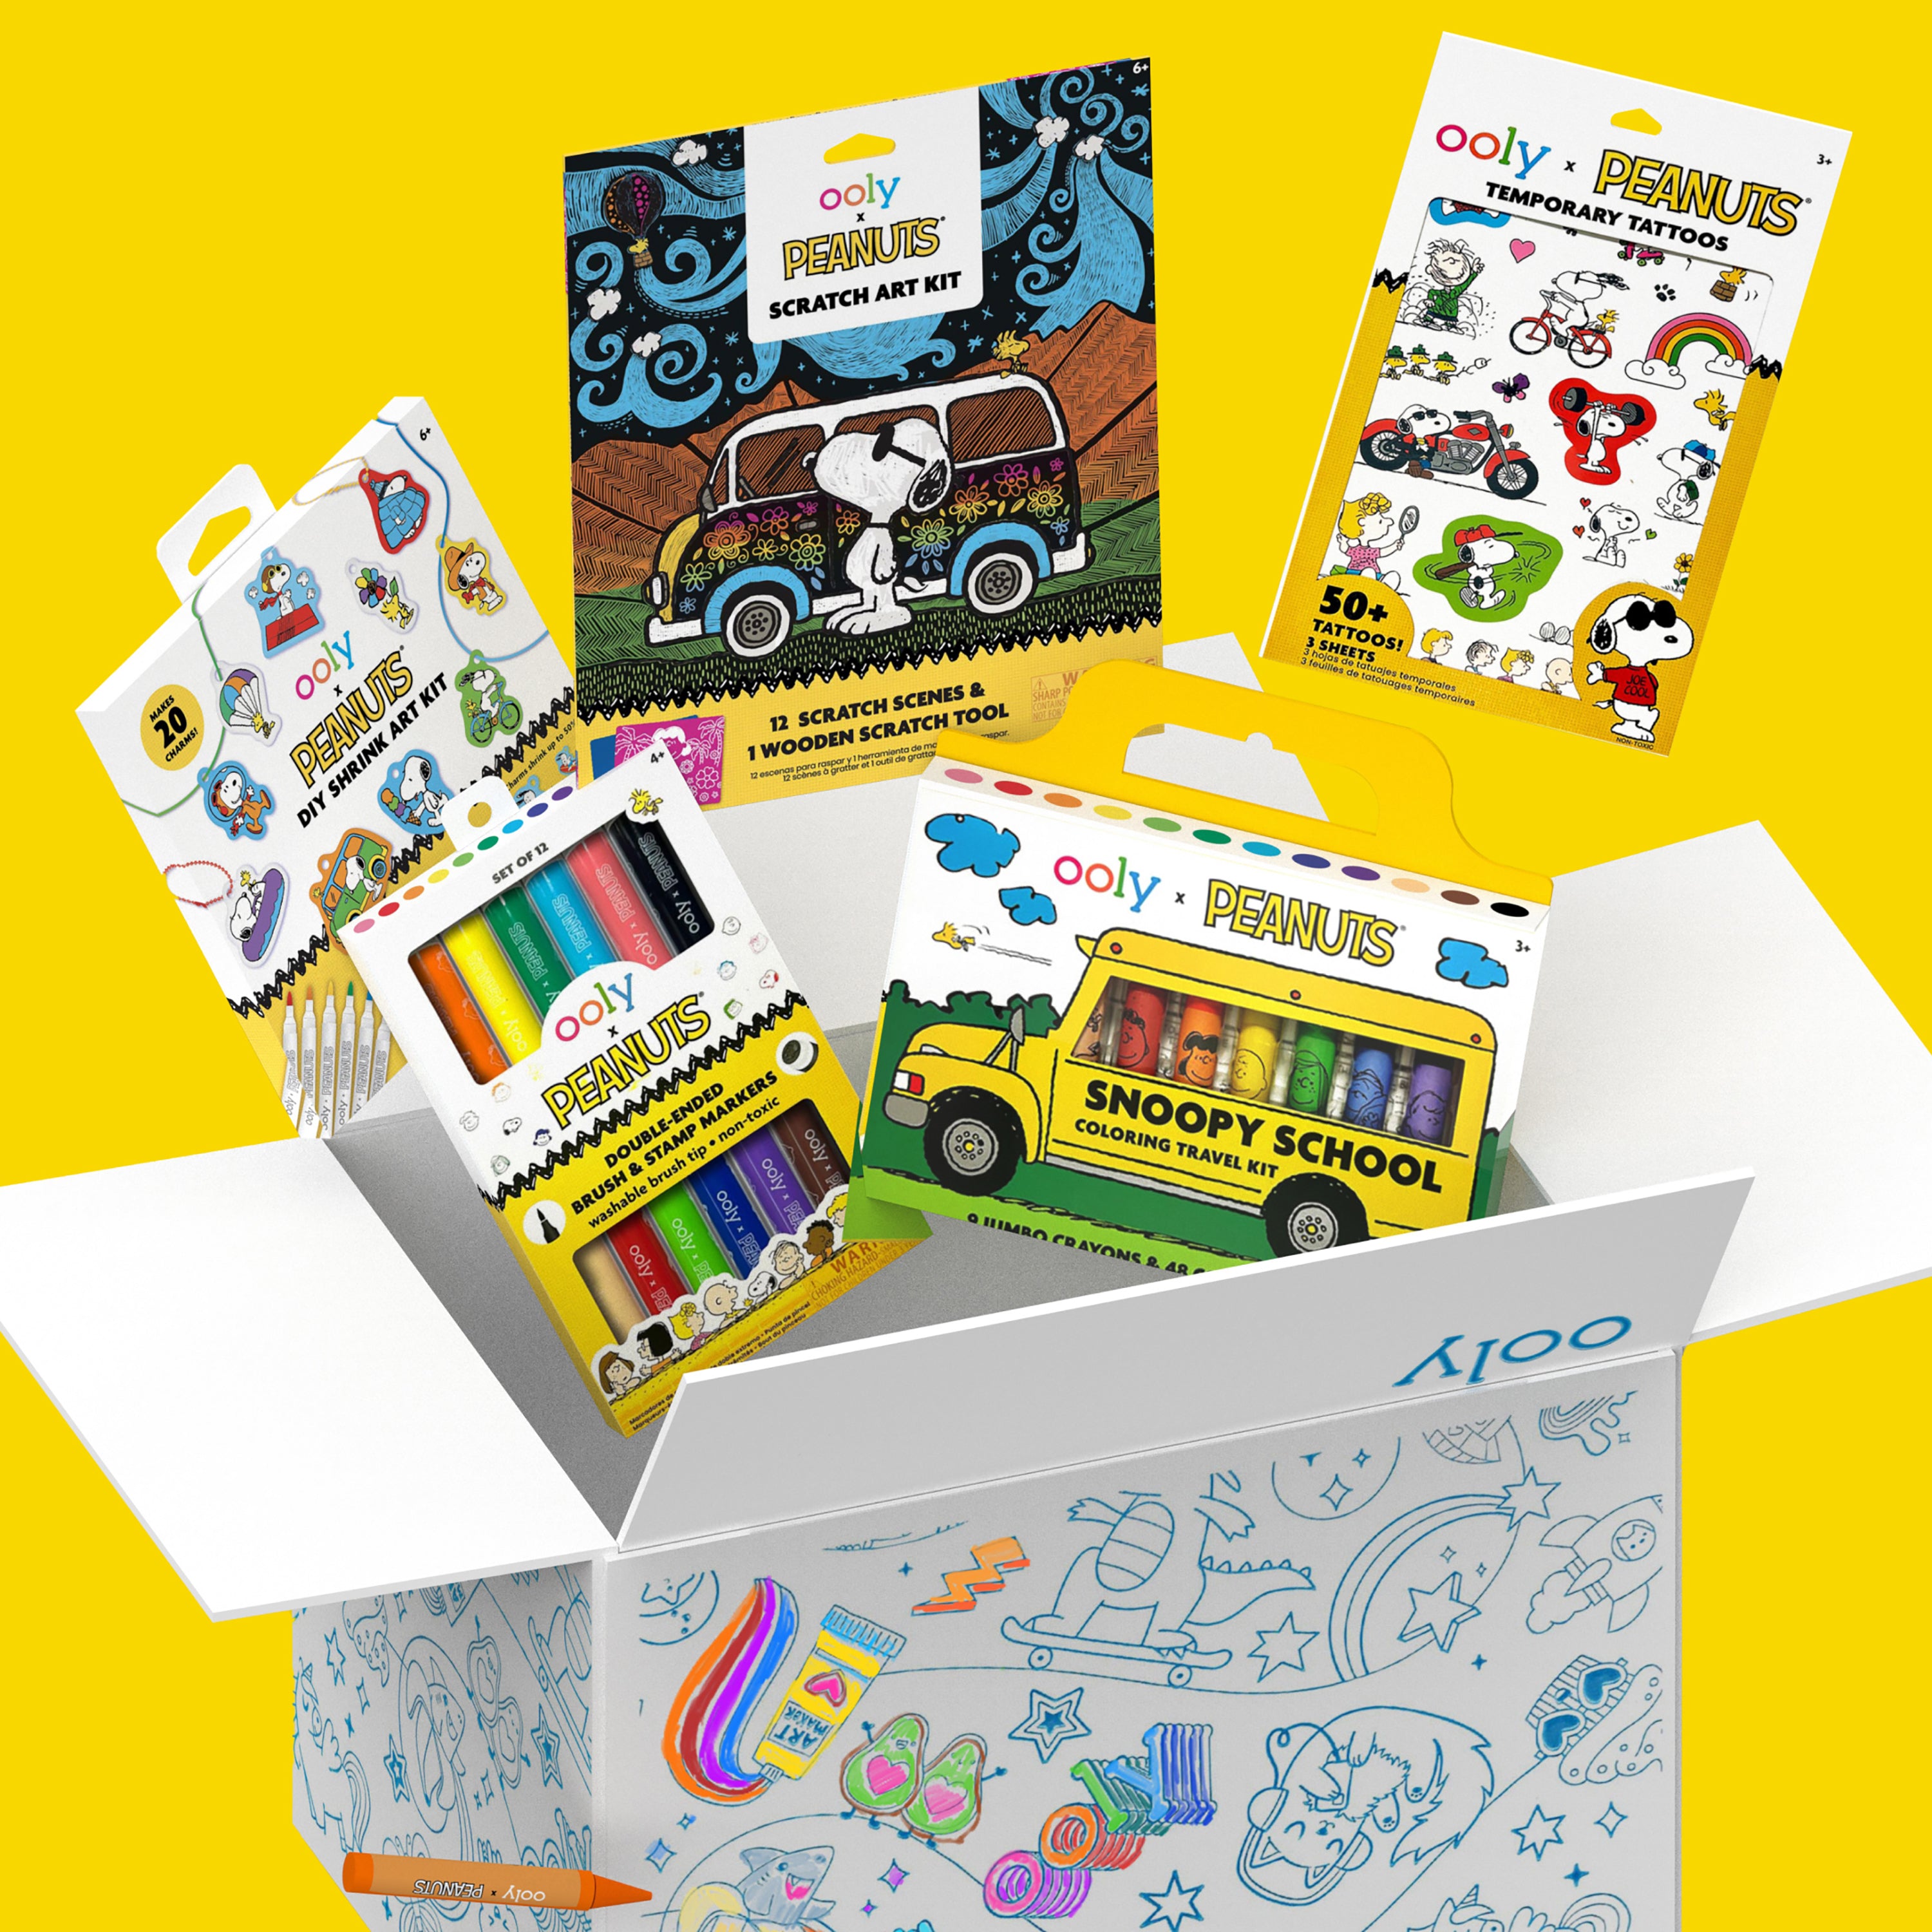
OOLY Products Needed:


Other Items Needed:
- Straw
- Ribbon
Directions:

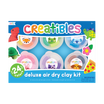
Step 1: Start by taking a small piece of clay from OOLY Creatibles Air Dry Clay Kit and molding it into a circular shape. Use the palms of your hands to gently roll the clay into a smooth ball, then flatten it gently to create a disc-like shape. Ensure the clay is thick enough to be sturdy as a medal.

Step 2: Use a straw to gently press into the top edge of the clay disc to create a hole. This hole will later be used to thread a ribbon through for hanging the medal.


Step 4: Allow the clay to air dry completely overnight. This drying process ensures the clay becomes firm and durable.

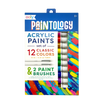
Step 5: Once the clay medals are fully dry, it's time to add some shine! Use Vivid Pop! Metallic Paint Markers in gold, silver, and bronze tones to color each medal. Allow 2-3 minutes to dry and add an additional coat if needed.

Step 6: Finally, thread a piece of ribbon through the hole at the top of each medal and tie a knot or bow.
Whether you're creating them for a sports tournament, a classroom achievement, or a personal milestone, these handmade medals add a special touch to any occasion.
We would love to see photos of your craft projects! Tag us on Instagram at @WeAreOOLY using #OOLYcreateyourhappy.


