


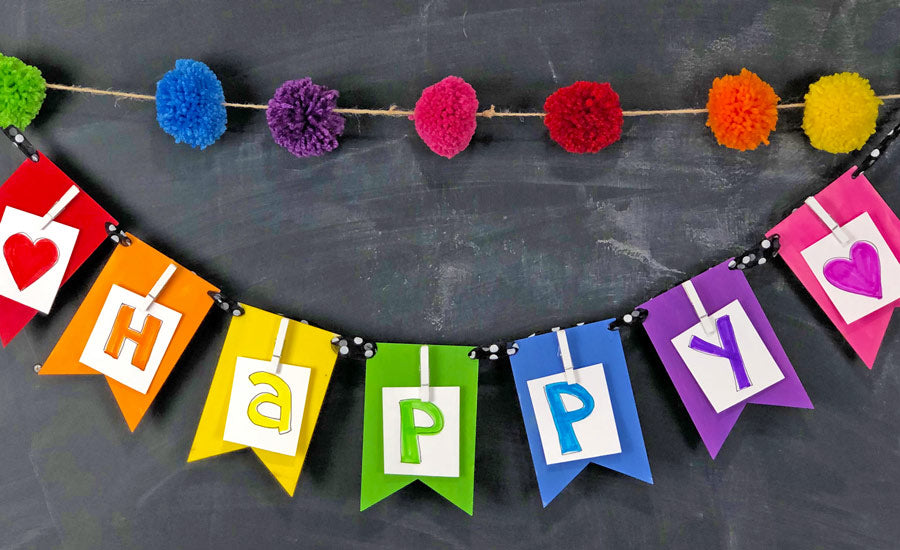
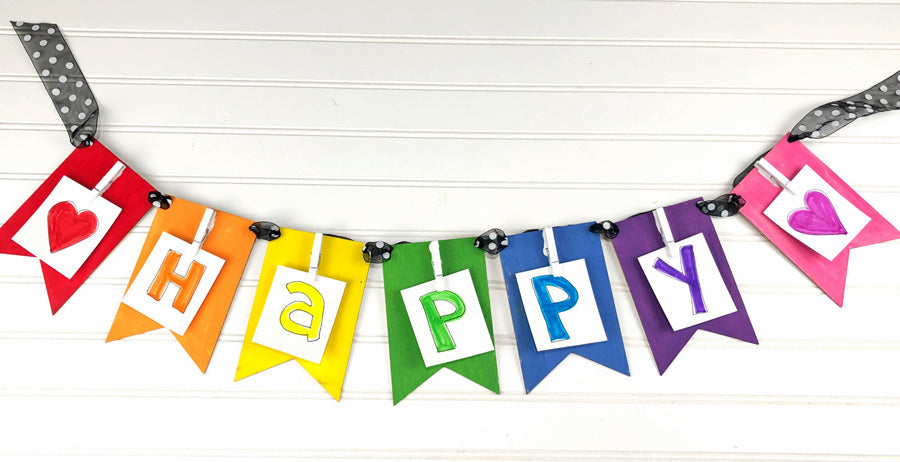
It has been studied and proven that making art creates happiness. I know it is so true for me and so many people I know. This adorable hand painted rainbow garland creates happy all around, from the process of making it to all who experience it. One of the greatest thing about this project is that it can be done in any color combination and spell out any word. That translates to endless possibilities of creating happy while making decorations for parties, bedroom, classrooms and more.
 Start by taking white paper and cutting it a tad smaller than painted pieces, at least a half inch on all sides and more on the top depending on the clothespin size. This gives plenty of room to see the bright colors. Next, you will outline the letters with a black marker. This example uses the .5 mm tip from the pack of black markers. The final step is to color in your letters with colorful marker. Be sure to get creative with colors patterns and designs.
 When the glue is dry, thread ribbon through the holes in the pennants to assemble the hand painted rainbow garland. Research shows that merely viewing art or inspirational words increases the level of dopamine to the brain, creating happy. Finally, stand back, enjoy the banner, and feel the happy!
 Here are some other fun ideas for garlands:
Laura Kelly is a doodle artist with a creative spirit. She spends her time making art and creating fun with her family and her Girl Scout troop. You can follow her blog at Me and My INKlings and find her on social media platforms @laurakellydesigns !
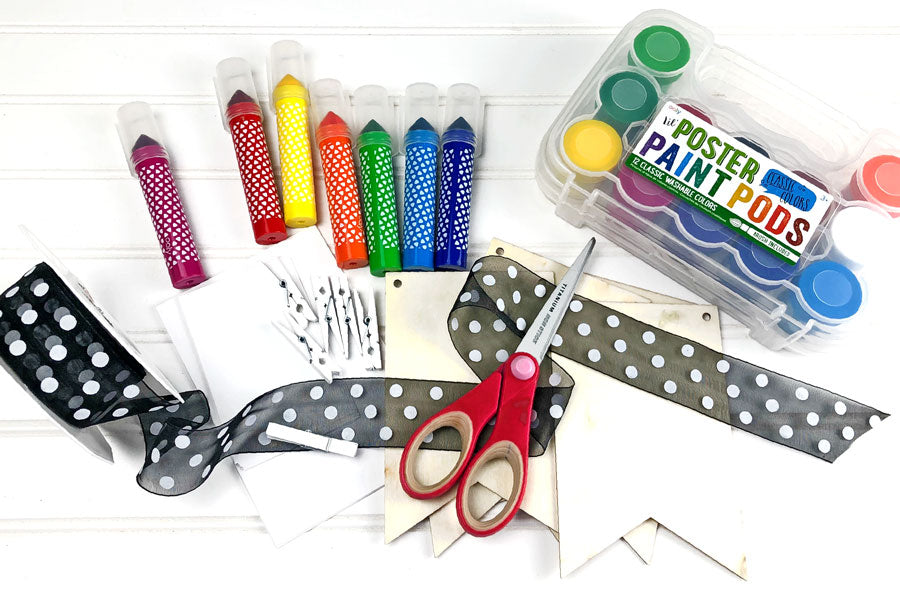
 Supplies Needed:
- lil' Poster Paint Pods
- lil' Paint Brush Set
- Markers (Mumbo Jumbo Chunky or Smooth Hues)
- Black Marker (The Ink Works)
- Wooden Pennant Pieces with Pre-Punched Holes
- White DIY Cover Sketchbook
- Scissors
- Ribbon
- Clothespins
- Glue
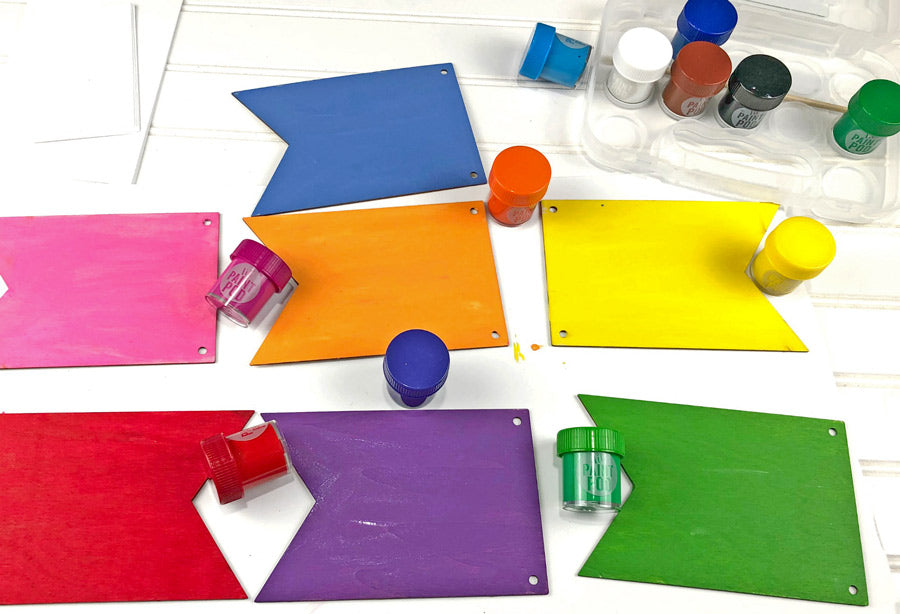
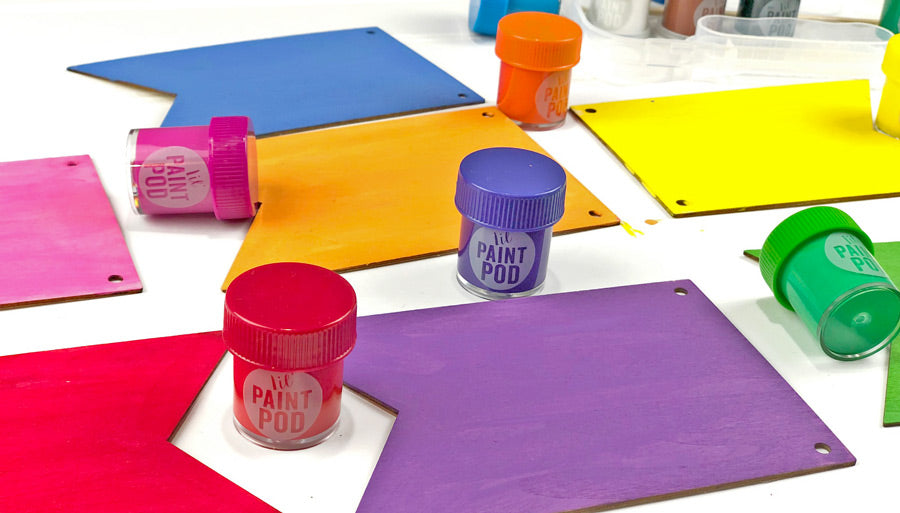
Painting Your Pennants:
The first step is to paint the wooden pennant pieces for the garland. This could also be done by painting on foam core or a thick chipboard if wood is not your thing. I used the lil' Paint Brush Set and paint pods because the because the bright rainbow colors were just what I was looking for. This paint works perfectly on the porous wood, but you can always use a prep coat if needed.
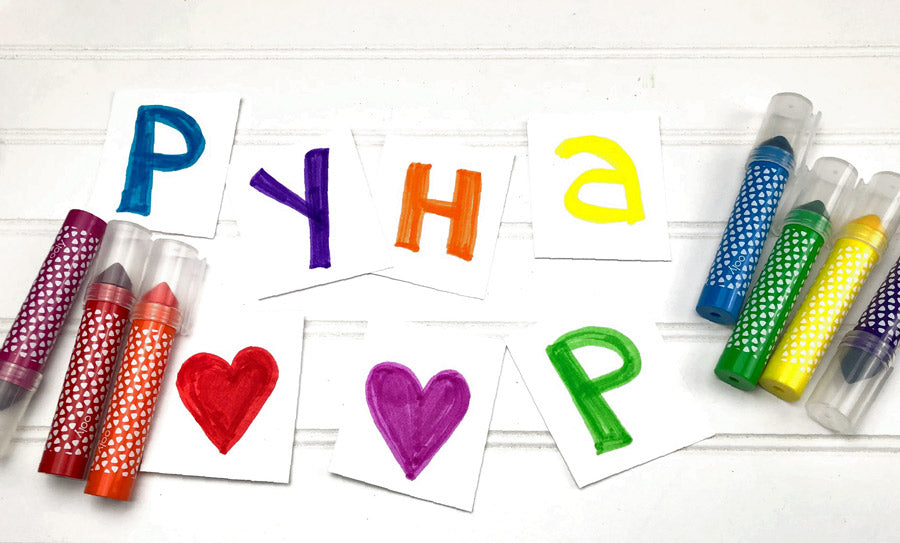
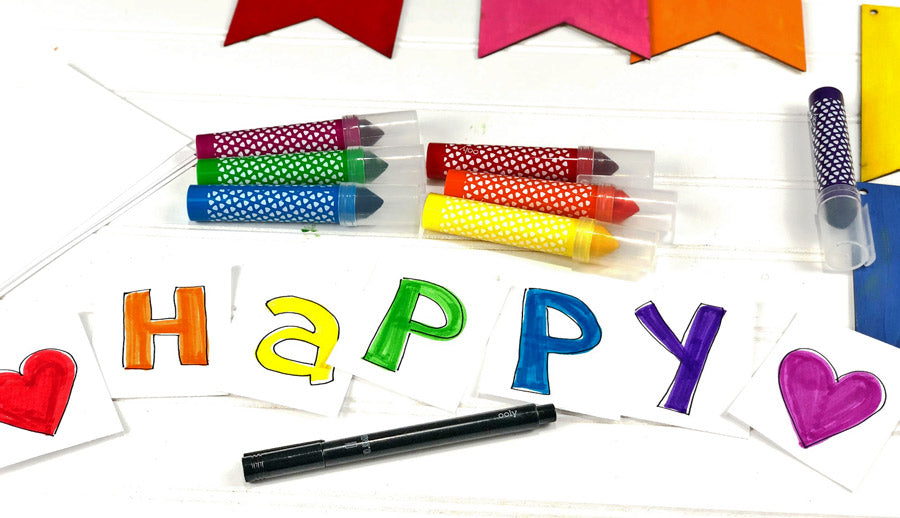
Decorating Your Letters:
The next step is to let the paint dry. In the meantime, you can get started making letters to spell the word H-A-P-P-Y or whatever word you choose to use. Here is where you can really get creative with the kids, the letters can be done in matching colors, or sometimes I even like to add designs like stripes, polka dots and zig-zags.
Start by taking white paper and cutting it a tad smaller than painted pieces, at least a half inch on all sides and more on the top depending on the clothespin size. This gives plenty of room to see the bright colors. Next, you will outline the letters with a black marker. This example uses the .5 mm tip from the pack of black markers. The final step is to color in your letters with colorful marker. Be sure to get creative with colors patterns and designs.
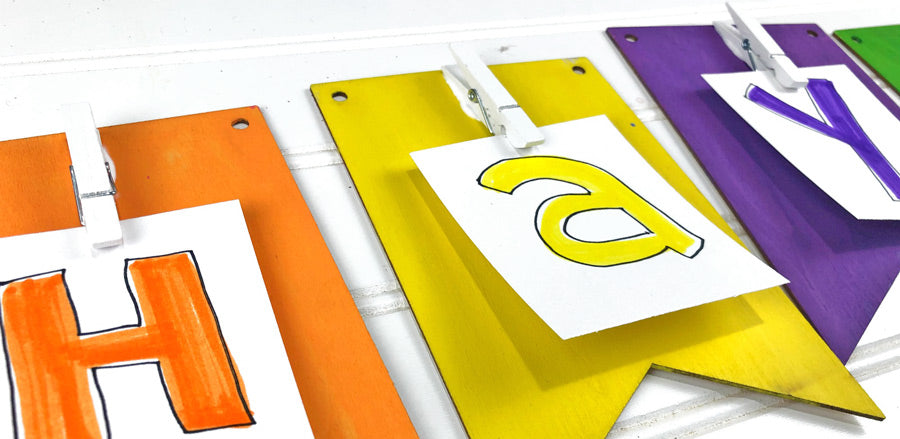
Assembling Your Garland:
Once the painted pieces are dry, glue the clothespins to the top centers, one on each. Slip the papers with letters into the clothespins to create the word.
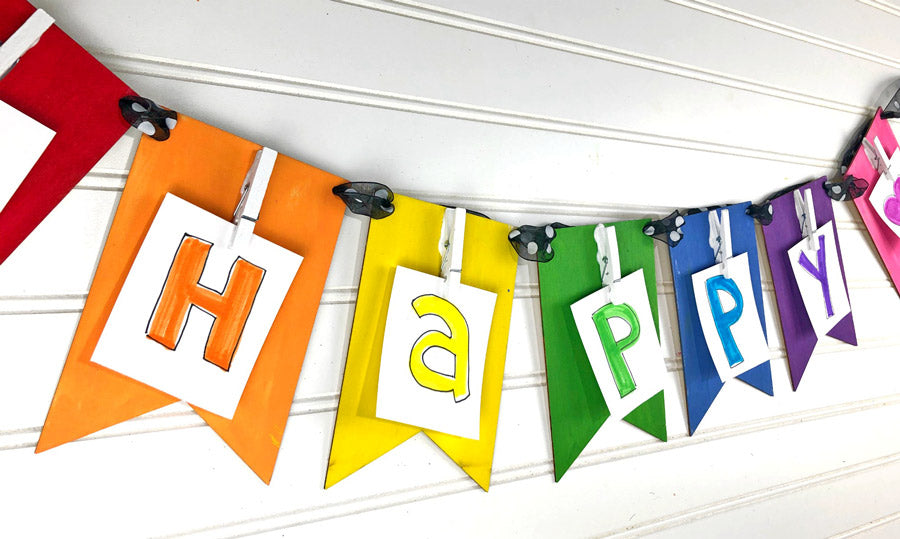
When the glue is dry, thread ribbon through the holes in the pennants to assemble the hand painted rainbow garland. Research shows that merely viewing art or inspirational words increases the level of dopamine to the brain, creating happy. Finally, stand back, enjoy the banner, and feel the happy!
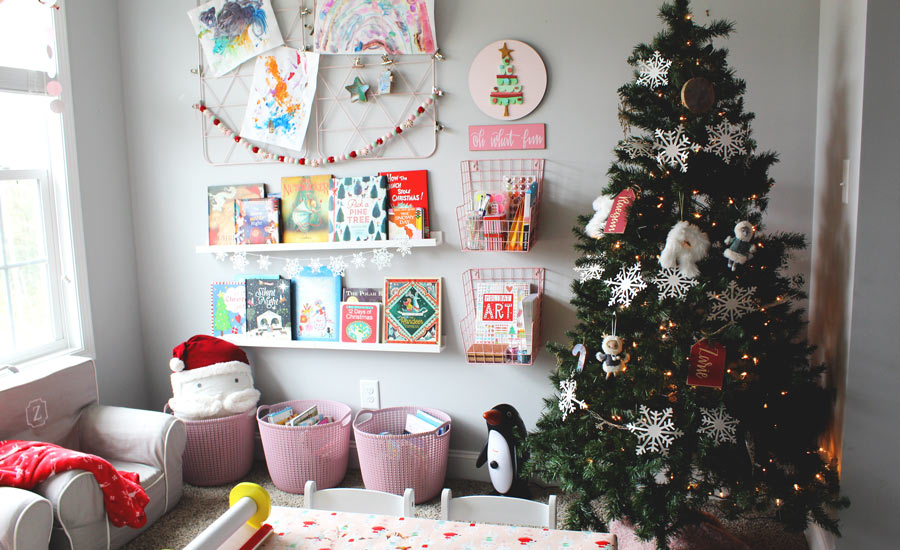
Here are some other fun ideas for garlands:
- Sport Teams
- School Spirit
- Bedroom Décor
- Parties
- Holiday Décor
- Baby Showers
- Hospital Room Cheer
Laura Kelly is a doodle artist with a creative spirit. She spends her time making art and creating fun with her family and her Girl Scout troop. You can follow her blog at Me and My INKlings and find her on social media platforms @laurakellydesigns !


