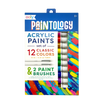
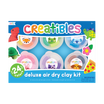
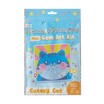
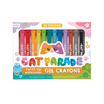
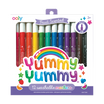
Valentine's Day is the perfect time to let creativity shine and show some love with heartfelt, handmade gifts! These easy and fun Valentine's Day crafts are perfect for kids of all ages. Using colorful OOLY art supplies, these crafts are simple to make and full of charm, making them great for gifting to friends, family, or classmates. Get ready to spread smiles and celebrate the season of love with these adorable DIY Valentine craft ideas!
Switch-Eroo Flower Bouquet
Time Duration: 20 minutes
Skill Level: Beginner
OOLY Products Needed:
Other Items Needed:
- Scissors (adult supervision required)
- Tape or Glue
- Ribbon
Directions:

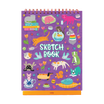
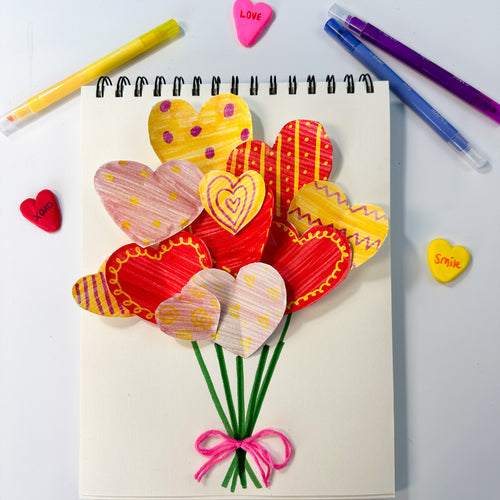
Step 1: Grab your OOLY White DIY Cover Sketchbook and cut out as many hearts as you want—big ones, small ones, or a mix of both! These will be your flowers, so get creative!


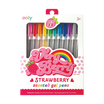
Step 2: Time to bring your hearts to life! Use your OOLY Switch-Eroo Color Changing Markers to color your hearts in your favorite shades.


Step 3: Flip your Switch-Eroo marker to the magic side and doodle on your hearts. Watch as the colors change right before your eyes—like magic! Draw swirls, polka dots, stripes, or anything that makes your heart happy.

Step 4: After your hearts are decked out gently fold each one in half. This makes them pop off the page and gives your bouquet a cool 3D effect!


Step 5: Using glue or tape, start arranging your hearts into a bouquet shape. Layer them, mix up the sizes, and have fun placing them however you like. There’s no wrong way to do it!

Step 6: Draw green stems for your heart flowers. Let them crisscross for a natural look.

Step 7: No bouquet is complete without a fancy bow. Use ribbon or yarn to tie a cute bow at the base of your bouquet.

Step 8: Your heart bouquet is ready to be gifted to someone special or displayed proudly. Spread the love and let your creativity shine!
Creatibles Clay Conversation Hearts

Time Duration: 20 minutes + drying time
Skill Level: Beginner
OOLY Products Needed:
Directions:

Step 1: Pick your favorite clay color from OOLY Creatibles Standard Air Dry Clay Kit. Roll two small clay balls for the two halves of your heart.

Step 2: Gently pinch the sides of each ball with your thumb and pointer finger to create little dents. Do this for both balls—you're starting to make the top of your heart!

Step 3: Stick the two clay balls together so they look like a small heart.

Step 4: Press down on your heart to flatten it just a little, making the shape more defined. Use the clay tools to smooth the edges and make your heart extra pretty!


Step 5: Let your clay hearts dry completely overnight before moving onto the next step.

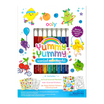
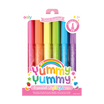
Step 6: Once your hearts are dry, grab your OOLY Yummy Yummy Scented Markers and start writing fun Valentine’s messages on them such as "Be Mine," "XOXO," or "You're Sweet!"

Step 7: Hooray, your DIY conversation hearts are finished! Use them for décor or attach to a simple note for a friend this Valentine's Day.
Chunkies Negative Space Valentine Cards

Time Duration: 20 minutes
Skill Level: Beginner
OOLY Products Needed:
Other Items Needed:
- Scissors (adult supervision required)
Directions:

Step 1: Take a piece of the OOLY Chunkies Sketchbook and cut out a heart shape. Make it as big or small as you like for your Valentine’s Day card.


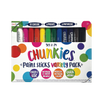
Step 2: Place your heart cutout on a page of your OOLY Chunkies Paper Sketchbook Pad. Using your favorite OOLY Chunkies Paint Stick and color all around the outside of your heart stencil. Watch as the heart shape starts to pop on the page!

Step 3: Carefully lift your heart stencil off the page. You've just created a beautiful heart outline.

Step 4: Let’s turn this into a special Valentine. Pick your favorite Chunkies Paint Stick color and use a piece of tape to attach it in the middle of the heart.

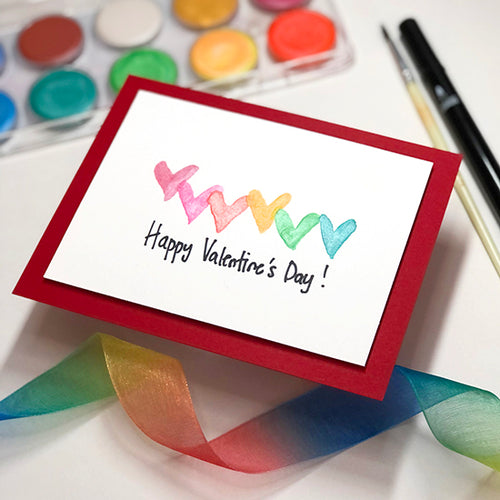
Step 5: Using an OOLY marker of your choice, write a loving note such as “Happy Valentine’s Day!” Now your colorful Valentine is ready to share and make someone smile.
We hope these easy Valentine's Day crafts inspire hours of creative fun and heartfelt giving! There's nothing quite like the joy of making something special with your own hands and sharing it with someone you love. Whether it's for family, friends, or classmates, these handmade Valentine’s gifts are sure to bring big smiles and lasting memories. So grab your favorite OOLY art supplies, let your imagination run wild, and have a blast crafting this Valentine's Day!
We would love to see photos of your craft projects! Tag us on Instagram at @WeAreOOLY using #OOLYcreateyourhappy.
2020 Valentine's Day Craft Ideas
DIY Valentine Gift Ideas
Smiles are sure to abound from DIY Valentine's gifts that come from the heart and hand. All of these creative Valentine's Day crafts can be used as a festive and fun decoration or as a memorable keepsake to remind us that love is everywhere. Love, just like your child's creativity, knows no bounds! Have fun by using all types of art supplies to make these homemade Valentine gifts. Then, enhance your designs with texture, shimmer, and shine to give to that special someone!
1. Mini Canvas Artwork
“This world is but a canvas to our imagination.” - Henry David Thoreau Big dreamers come in small packages! From toddlers to kindergarteners, this mini canvas Valentine’s Day crafts project is perfect for young kids with a little or a lot of imagination. Multiple mini canvases often come in a pack, so you can quickly and affordably make DIY gifts for everyone on your Valentine’s list or a mural for the one nearest and dearest to your heart. Begin by gathering your art supplies and readying your workspace. With younger children, you may want to cover your table with craft/newspaper first.Craft Supplies List
For this Valentine’s Day craft, we used mini canvases. Find them from a craft store or make your own from sturdy cardboard/poster board.Chunkies Paint Sticks

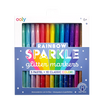
Sparkle Glitter Markers
 Start with sparkle! Rainbow Sparkle Glitter Markers add fun and shine to any art project. First, outline your hearts, then you can decorate with one of the ten classic color glitter markers. Fill in with one of the 5 glitter pastel colors to give your Valentine's Day craft some zing! Or make it pretty in pink. Tip: If you're giving the canvas for a Valentine's day gift, leave some room somewhere to add a personal or heartfelt message for the recipient. Add a small easel for displaying your art.
2. Wooden Heart Cutouts
These wooden cutouts can be used as Valentine hanging ornaments or strung together to form Valentine's Day garland of happy sparkly hearts for decoration.Craft Supplies List
You can find unfinished wood heart cutouts ready to paint or decorate at a craft store near you. Wood heart cutouts lil’ Poster Paints, lil’ Paint Brush Set, Pixie Paste Glitter Glue, Dot-A-Lot Dimensional Craft Paint.Poster Paints
 Choose your palette for painting your wood cutout, pretty in pink, classic red, or passionate purple, or your preferred shade. An assortment of paintbrushes is excellent for options in creating your Valentine's day craft. With the wooden cutout, you may want to prep paint both sides. Just be sure to leave time for drying in your project. Poster paint pods are great for filling in the background by using a larger brush. For more delicate designs, use a brush with a pointed tip.
Glitter Glue
 Once your heart cutouts are painted, the next step is to add some dazzle! Glitter glue is one of our favorites. Each jar has a brush attached to the cap for easy application. With 6 colors & glitter glue styles, your Valentine will surely shine.
3-D Craft Paint:
 Another option is adding a Dot-a-Lot Craft Paint to your heart cutouts. You can prep the wooden surfaces or choose to paint directly on the wood. Create borders and patterns that stand out in lustrous pearly shades or go bold with a few neon tones. Simply squeeze the bottle to add dots of paint or draw heart patterns. It's essential to allow for ample drying time after applying.
3. Cute Potato Print Cards
Did you ever make potato stamp Valentine cards when you were a kid? We remember mixing paints on the bottom of the potato stamp and layering another color on top. Using cookie cutters, we would make all kinds of letters and hearts. Then we would use glitter, paint, and ribbon to add texture to this Valentine's Day craft. It was such a fun way to give unique Valentine's Day cards that you could never find in any store.Craft Supplies List
Try to use potatoes in all different shapes and sizes! Potatoes Cookie cutters and a knife to cut around the shape, craft paper, lil Paint Brush Set, lil' Poster Paint Pods, Chroma Blends watercolor paint set or watercolor brush markers, Dot-A-Lot Dimensional Craft Paint, and any art and DIY supplies you can dream of!Great Valentine’s Craft for All Ages
 The DIY potato stamps craft for Valentine's Day cards and letters is excellent for all ages! The young ones can pick out their cookie-cutter and push it into the potato as far as it will go. Then an adult can help trim around the cutter with a knife. Now you're set to create! It's as easy as that! There's no limit on the art supplies you can use for this unique and fun Valentine's Day craft. Experiment with paints, watercolors, and markers.
Potato Printing Tips and Tricks
- Leave your cookie cutter in the potato while cutting around it. It makes it SO much easier!!
- After you're done cutting the potato, stamp your potato without any paint on a piece of paper to help dry it out. We did this a few times until it felt pretty dry, and it helped the color go on and stamp much better.
- When stamping with paint, we found less is best! Otherwise, it squishes out the side ( unless that's the look you're going for!) Also, we found painting it on with a paintbrush worked very best!
- Have FUN!!! This craft is so much fun, and each Valentine was so unique!


