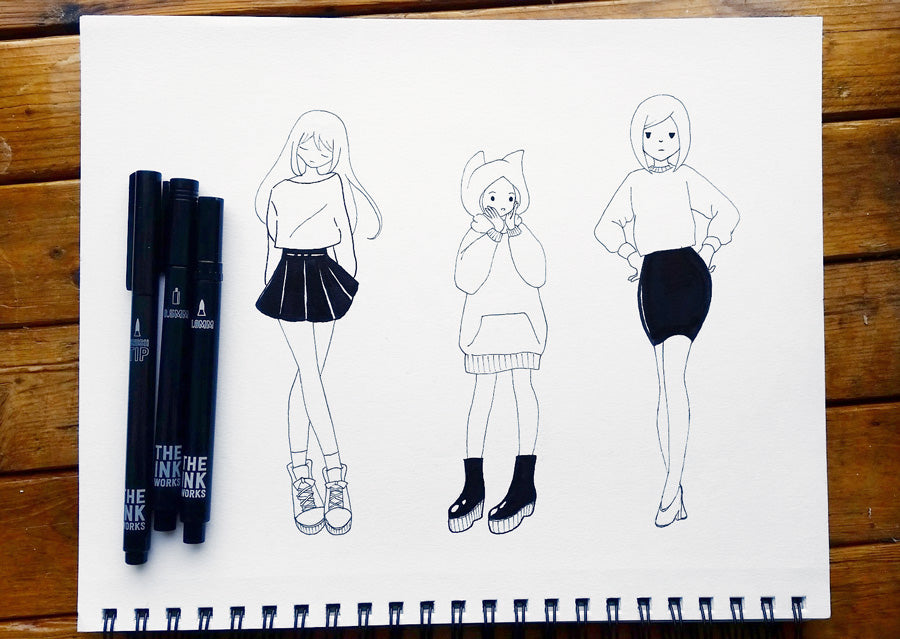
Hello everyone! So I recently decided to try my hand at some washi tape art because I’ve seen a few of the artists use this technique and discovered how to make paper dolls. The idea is to cover up an entire shape with tape and then cut away the access until the tape is left only inside the shape you’ve drawn. It’s a simple enough process and with the amount of variation in tape designs, the possibilities are endless!
When I found OOLY’s Sticker Tape Pens, I immediately wanted to use them for similar tape illustrations, and they were perfect for the project. Although washi tape is made of natural fibers and very soft to cut around, it may be hard to judge just how deep to cut and how to apply just enough pressure without cutting into the paper itself (I can’t tell you how many times I accidentally cut out pieces of my sketchbook!). But by using OOLY’s sticker tape pen, this technique just became easier and safer (so it’s kid friendly!)
TO MAKE YOUR OWN STICKER TAPE DOLL, YOU’LL NEED:
- Paper (sketchbook or looseleaf)
- OOLY Decorative Sticker Tape
- Coloring Markers
- a black marker (fine-tipped or brush)
- a mechanical eraser (or any regular eraser)
STEP 1 - DRAW
Start by drawing your doll with a fine-tipped black marker.
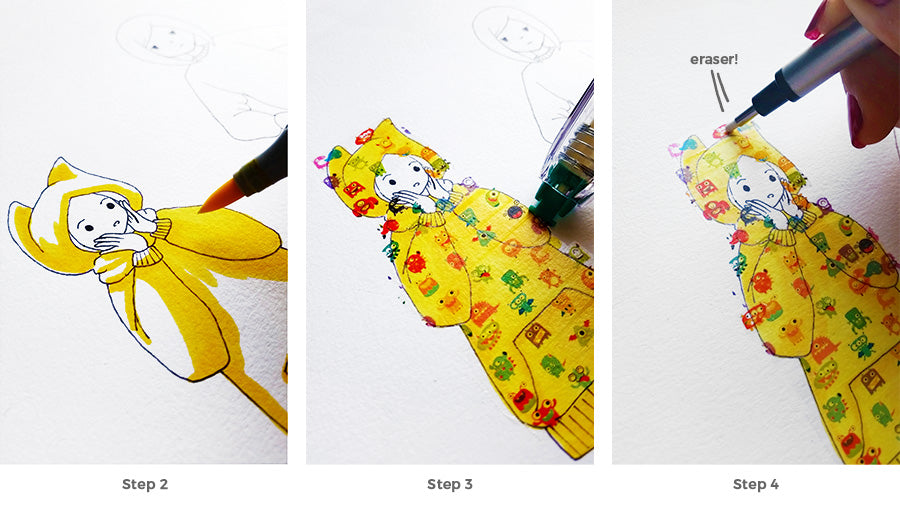
STEP 2 - COLOR
Color in the doll with whichever colors you’d like. Keep in mind that once you apply the sticker tape, you won’t be able to color over it very well.
STEP 3 - TAPE
Take your tape pen and apply the sticker design over the desired area of the doll (it can be the shirt, shoes, pants, etc.). Make sure you cover the entire article of clothing. Don’t be afraid to tape outside of the lines.
STEP 4 - ERASE
Next, grab your mechanical eraser. (I used a craft knife the first time I did this, but since then I’ve realized that mechanical erasers are easier, safer, and don’t leave scratch marks.) Start gently erasing away the excess outside of the lines. You should do this until the sticker tape design is only on the areas you want for your doll. And voila, your doll is done!
At this point, you may also want to grab your black marker again and go over some of the line art that the sticker tape may be covering up. You may even decide to use another tape design for the rest of their outfit!


The best part about OOLY’s tapes is that they are transparent and can layer on top of each other, so you can add a modicum of shading and texture using layering techniques. Try experimenting by mixing designs, we'd love to see what you come up with! Be sure to tag me (Jo You) and OOLY with #CreateYourHappy. Have fun!


