Craft blog by: @emilee.mitchel on Instagram
If you’re looking for a creative and eco-friendly way to make some festive holiday decor, we’ve got the perfect DIY for you—Paper Bag Stockings! Not only is this a fun activity for all ages, but it’s also a great way to repurpose leftover paper bags and customize your own stockings using OOLY markers. Let’s dive in and get crafting!
Time Duration: 30 minutes
Skill Level: Beginner
Other Items Needed:
- Scissors (adult supervision required)
- Glue stick
- Yarn
Directions:
Gather and prepare your materials
Step 1: Gather your materials: OOLY markers, paper bags, scissors, glue, string (for hanging), and any additional embellishments.

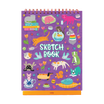
Step 2: First we need to create our stocking template by drawing a stocking shape onto a piece of OOLY White DIY Cover Sketchbook. Carefully cut out the template.

Step 3: Next, create the base of your stocking by tracing the outline of your template onto your paper bag. Repeat this step to create as many paper stocking decorations you plan to craft.

Step 4: Cut out each base of your upcycled stockings. You are now ready to embellish your stockings!
Decorate using Vivid Pop! Paint Markers

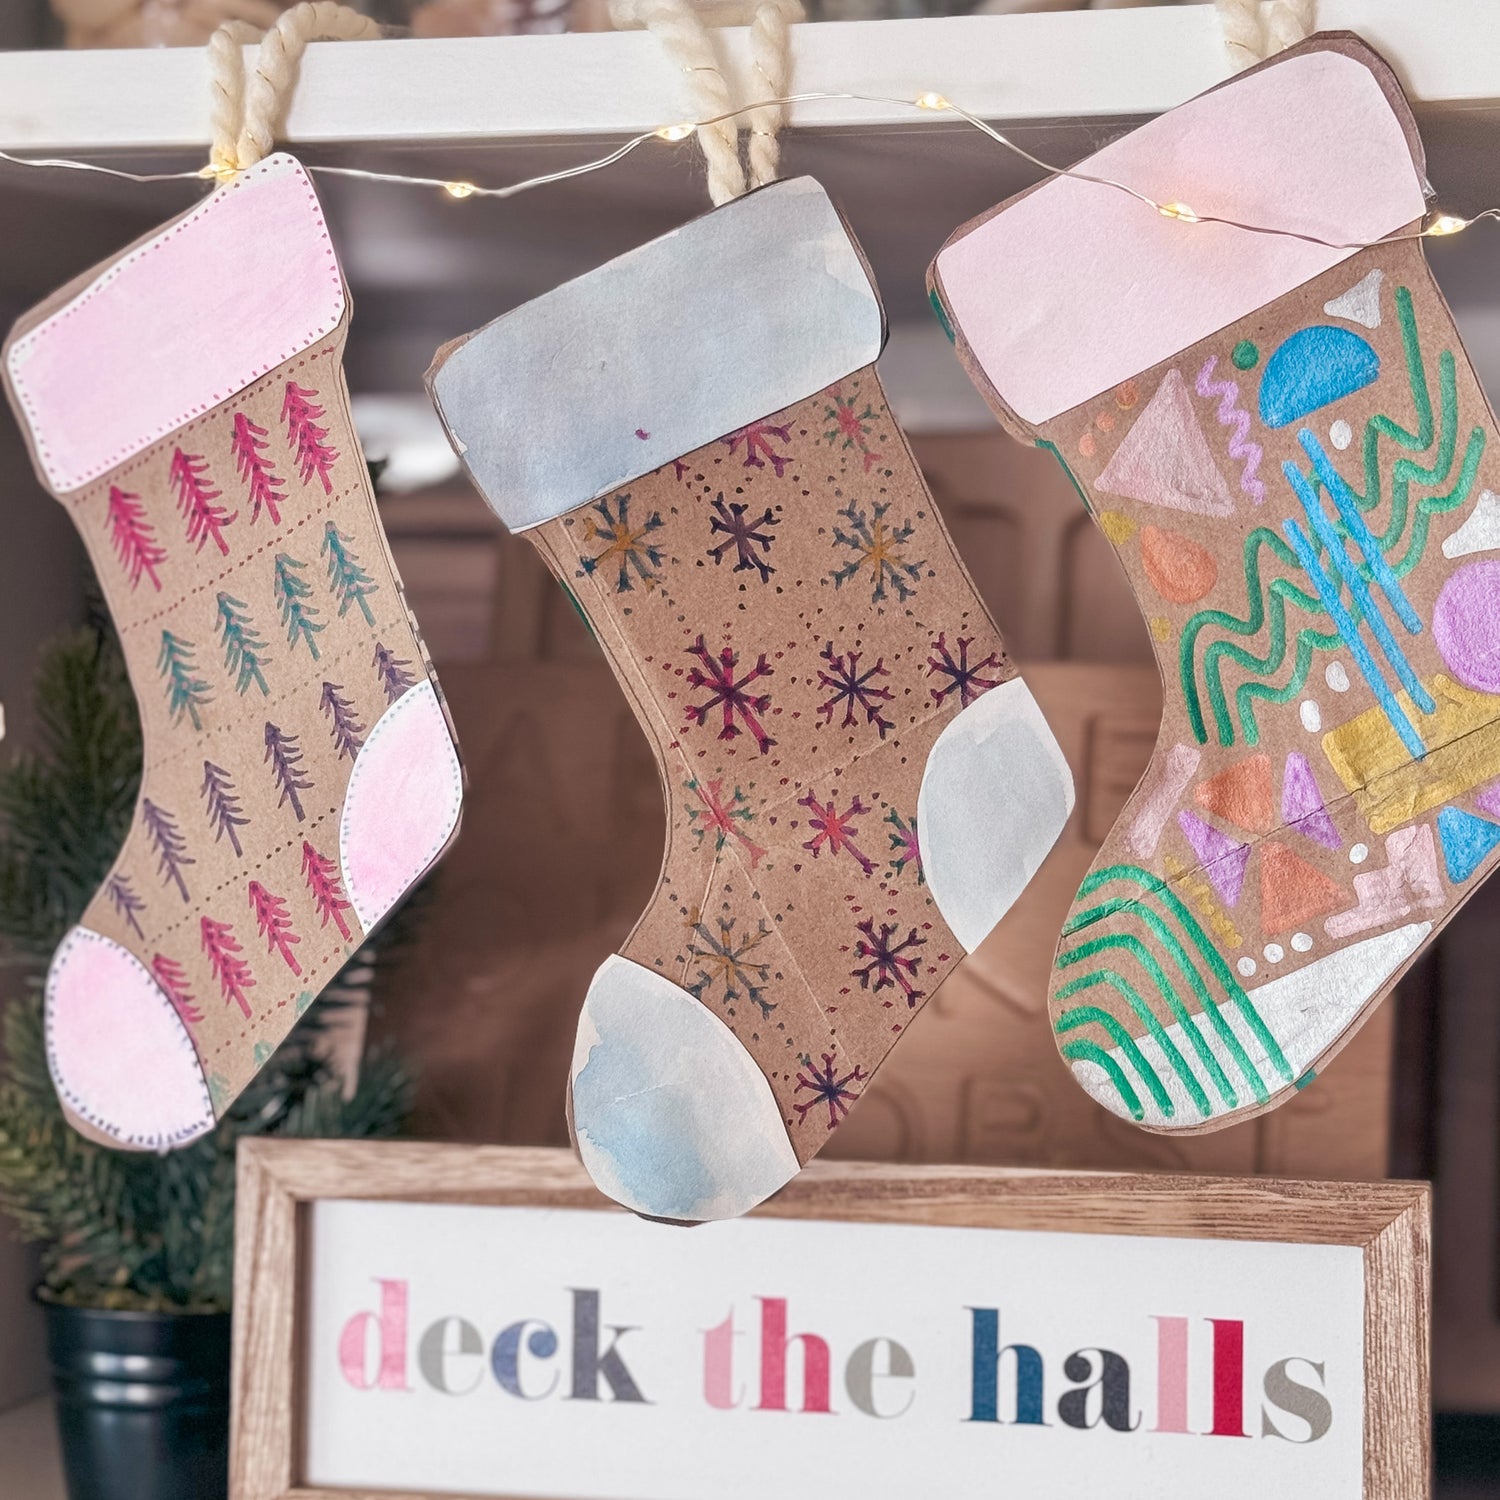
Step 1: Use an OOLY marker or pencil to draw the base of your pattern, we decided to create an argyle or checkered pattern. You can also create patterns like stripes, diamonds, or fun holiday shapes such as snowflakes or ornaments.

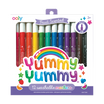
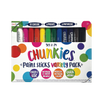
Step 2: Use OOLY Vivid Pop! Paint Markers in Metallic to fill in the diamonds with bright, bold colors. The metallic sheen will give your stocking an extra festive sparkle, making it a standout piece in your holiday décor! Once dry, you can cut out additional embellishments such as the cuff of the stocking from OOLY DIY sketchbook and glue them on, in this case we also added a few white diamonds with silver dashes. Finally, attach a loop of yarn so you can hang your masterpiece!
Make it POP using OOLY Magic Puffy Pens

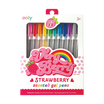
Step 1: Let’s create some 3D magic! Use OOLY Magic Puffy Pens to add fun pastel neon polka dots all over your stocking.

Step 2: Once you’ve added your dots, grab a hairdryer and apply heat to puff up the dots for an awesome 3D effect! It’s a cool way to bring your design to life and add some festive texture. Add any other embellishments, like the cuff, toe and heel of the stocking and don’t forget to add a loop of yarn for hanging.
Outline and Shine with OOLY Silver Linings Markers

Step 1: Time to shine! First, use an OOLY marker or pencil to draw the base of your pattern such as diamonds, stars or snowflakes!

Step 2: Then, use OOLY Silver Linings Markers to fill in the diamonds, or draw diamond shapes in a repeating pattern. You can alternate colors for a gradient effect, using markers like pink, blue, and green. If you prefer a whimsical holiday design, draw stars and snowflakes. The Silver Linings Markers make these shapes pop against the paper bag and give your stocking that frosty, holiday shimmer. Add any additional embellishments, such as decorating the cuff, toe, and heel of the stocking, and remember to attach a loop of yarn for hanging.
Layer on Details with OOLY Color Layers Markers

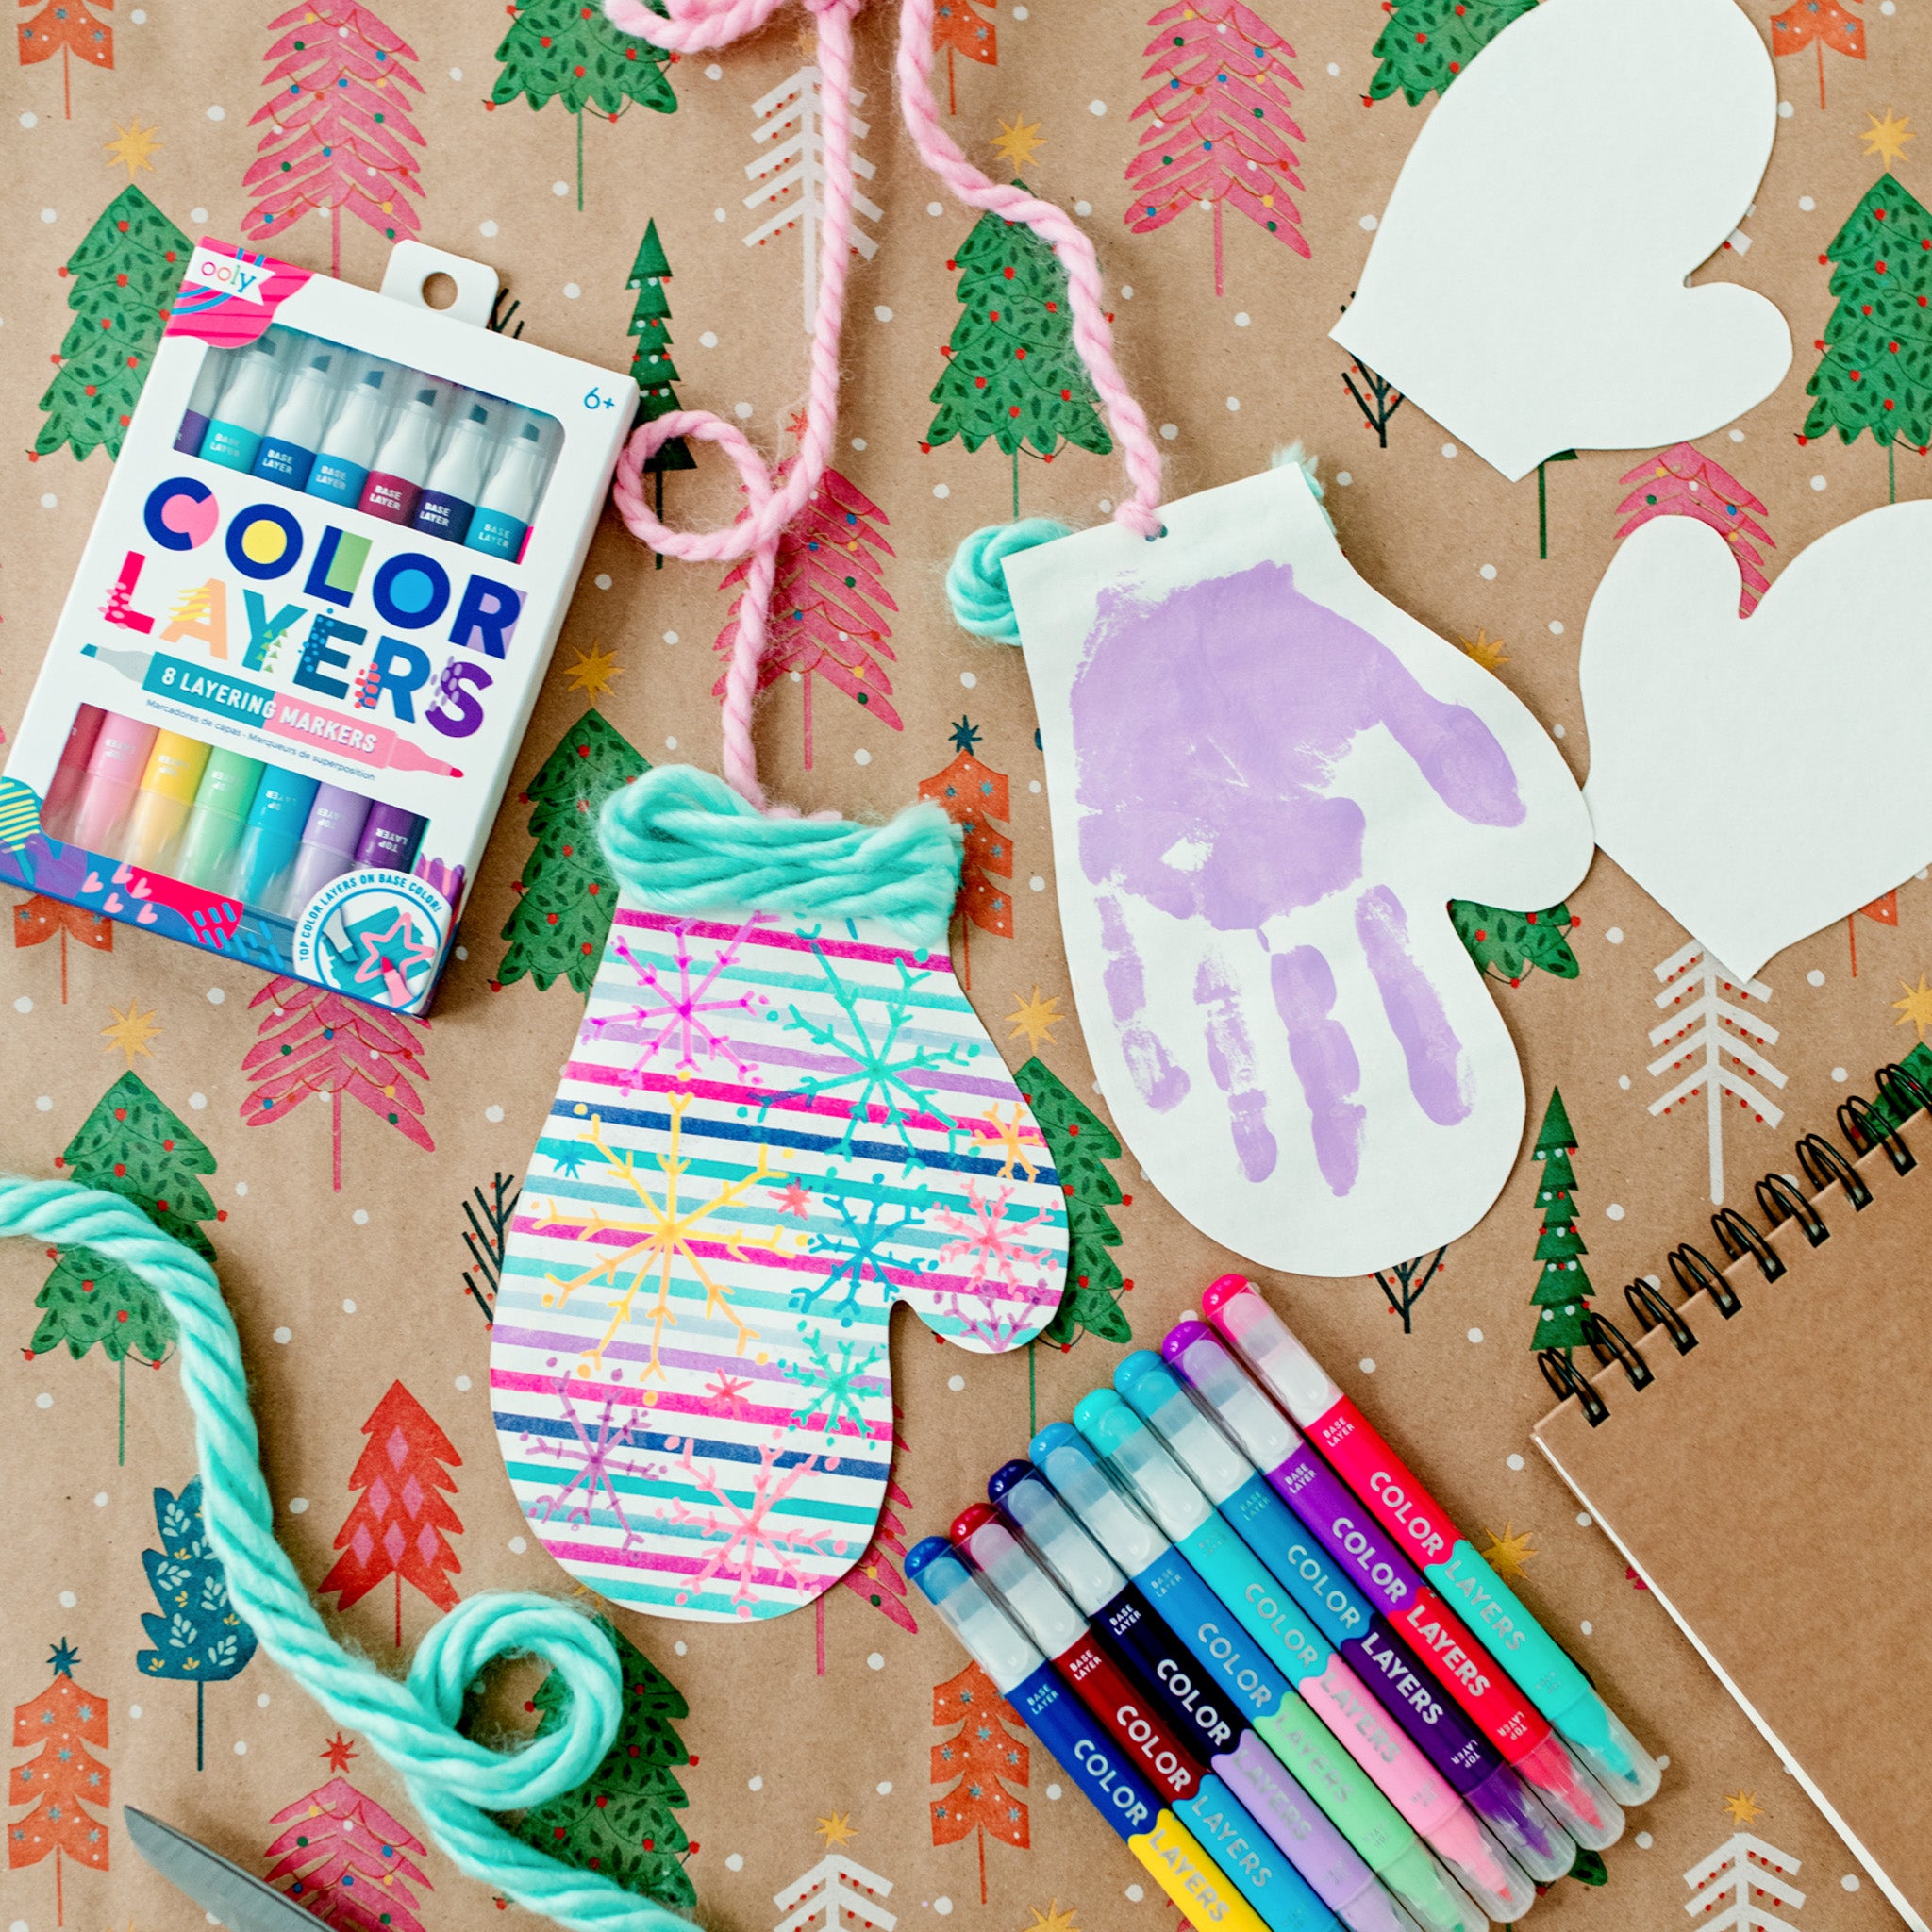
Step 1: Use OOLY Color Layers Markers to add depth and dimension to your stocking design. Start by drawing small evergreen trees in neat, repeating rows. The double-ended markers make it easy to switch between the broad chisel tip for larger shapes and the fine point tip for details like the branches.
Alternate between vibrant colors, such as red, green, and purple, to create a festive look that feels cohesive and dynamic. You can also experiment with layering the colors for added depth.

Step 2: After your trees are done, add snowflakes or small dots in the negative spaces between the trees to give your stocking a wintery, cozy feel. Add any additional embellishments, such as decorating the cuff, toe, and heel of the stocking. Once everything is complete, attach your hanging loop and admire your colorful stocking, ready to display in your home as part of your holiday décor!

Your upcycled paper bag stockings are complete! These DIY creations are perfect for decorating your home, gifting to friends, or hanging by the fireplace for a little holiday magic. Plus, you've transformed those old paper bags into something wonderfully festive!
We hope this fun, eco-friendly project brings some holiday cheer to your home! Tag OOLY on social media so we can see your festive stockings in action.
We would love to see photos of your craft projects! Tag us on Instagram at @WeAreOOLY using #OOLYcreateyourhappy.


