arts and crafts

DIY Paper Flowers with OOLY Markers

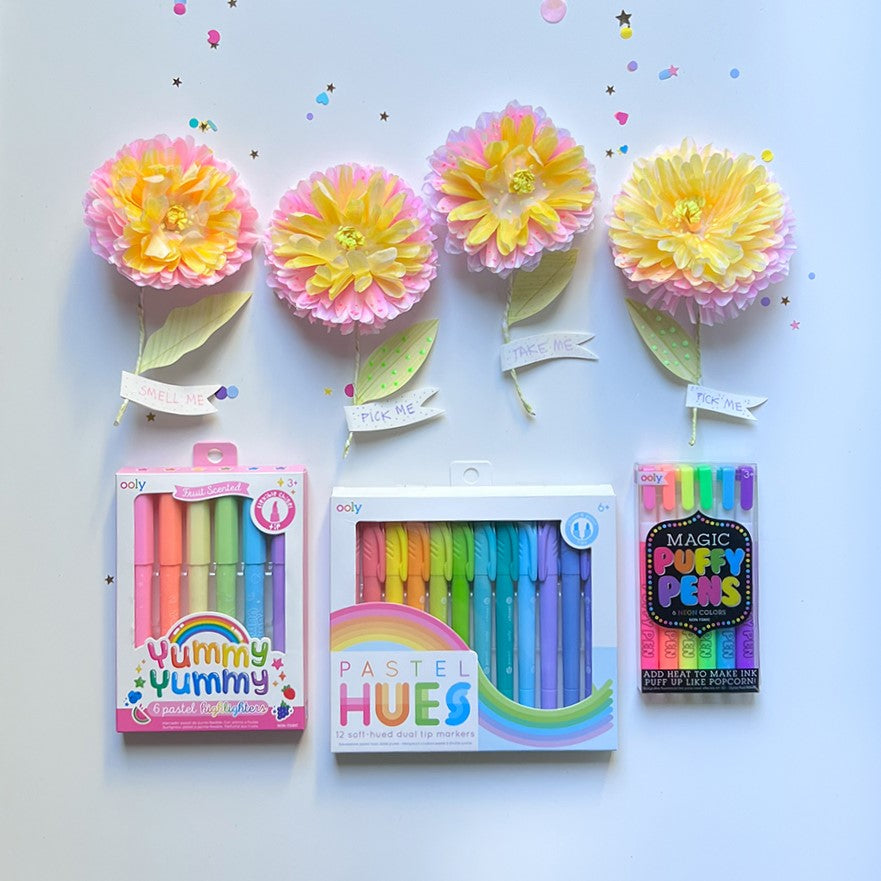
Colorful paper flowers with messages on the stems next to arts and crafts supplies
Craft blog by: Lucia Mallea (@luciamallea on Instagram)
Ready to turn your craft corner into a DIY garden of delight? With cupcake liners and some OOLY markers, you can whip up pastel paper flowers that bloom brighter than your imagination! These petal-powered pretties are perfect for sprucing up any space, adorning gifts, or jazzing up your wardrobe (flower crown, anyone?). No green thumb required—just a pinch of creativity and a whole lot of fun. Let’s get crafting and watch your creativity blossom!
Time Duration: 45 minutes
Skill Level: Beginner
Other Items Needed:
  • White cupcake liners
  • Glue
  • Floral wire or regular wire
  • Scissors (adult supervision required)
  • Blow dryer for Magic Puffy Pens (adult supervision required)

Directions:

Close-up of a hand coloring a white cupcake liner with OOLY pastel hues markersStep 1: Color Your Cupcake Liners
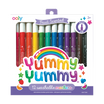
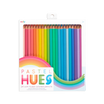
Take those plain cupcake liners and give them a glow-up! Grab your OOLY Yummy Yummy Scented Highlighters and OOLY Pastel Hues Dual Tip Markers, and start doodling. Think pink, sunny yellows, and purples as pretty as a lavender field. Don’t be afraid to color outside the lines—wildflowers are always the most charming!
Folded and colored cupcake liners arranged in a fan shape on a table
Step 2: Snip, Snip, Bloom!
Fold your liners in half, then half again, and once more until they resemble a wedge of pie. Snip away to create rounded, pointed, or wavy petals—it’s your flower, so petal to the metal! Open it up, and ta-da—instant bloom. Add some extra flair with fine strokes or dots using OOLY Pastel Hues Markers. Because every flower deserves a little pizzazz!
Cupcake liners cut into flowers colored in pastel yellow and pink with dots being drawn on them with OOLY Magic Puffy Pens
Cupcake liners cut into flowers colored in pastel yellow with dots being drawn on them with OOLY Magic Puffy Pens
Cupcake liners cut into flowers colored in pastel yellow with dots drawn on them with OOLY Magic Puffy Pens and a hairdryer ready to puff up the ink.
Step 3: Puff Up the Drama
Here’s where the magic happens! Dot your petals with OOLY Magic Puffy Pens, then grab your hair dryer and watch them grow. Total texture for pretty petals!
Strip of white paper colored with orange and yellow OOLY Pastel Hues Markers
Hand holding a strip of white paper colored pastel yellow with OOLY Magic puffy Paint on it.
Scissors after cutting a piece of yellow paper.
Step 4: Center of Attention
Cut a strip of paper from your White DIY Cover Sketchbook and give it a splash of sunshine with orange and yellow OOLY Paste Hues Markers. Fold the edge inward, add some dots of OOLY Magic Puffy Pen ink, and watch the magic unfold when you hit it with some heat—instant pop! Snip tiny, narrow strips along the edge to create a burst of playful texture. This little detail will be the center of your flower’s majestic beauty.
Strip of white paper being colored yellow with OOLY Paste Hues Marker.
Strip of paper colored green being wrapped around a wire with a small bottle of glue.
Step 5: Go Green or Go Home
No stem? No problem. Cut a strip of paper, color it green with your OOLY Pastel Hues Markers, and wrap it around a wire to create a sturdy stem. Glue it down as you go.
Yellow fringe being rolled up to create the flower stem.
A hand holding the stem with the yellow fringe rolled up to create the flower stem.
Step 6: Start with the Heart
Take your newly fringed center piece and create the center of the bloom by rolling it up tightly and gluing it to the top of the stem. Let it dry for a moment so it doesn’t budge while you’re busy planting those petals.
The stem and yellow center of a flower being pulled through the first petal of the paper flower
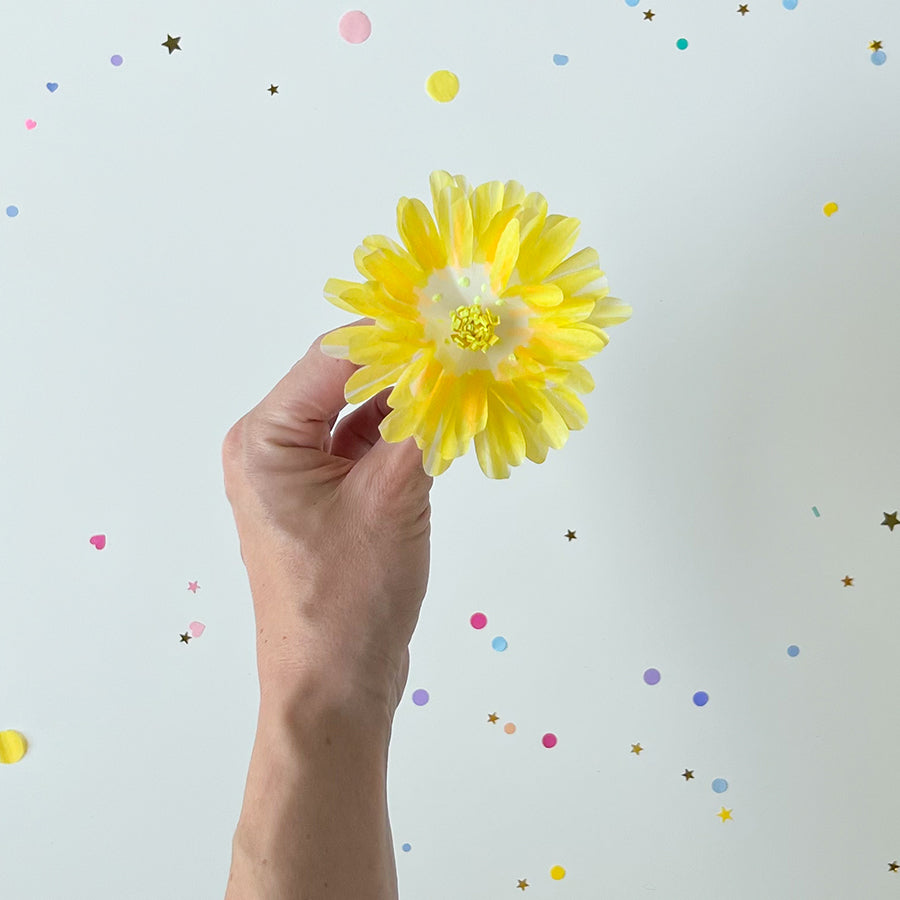
A yellow pastel paper flower.
Step 7: Petal by Petal, Watch It Bloom
Here comes the best part—layering your petals! Take your first petal piece and poke the stem right through the middle. Slide it up to the center and give it a gentle fluff to make it bloom with personality. Keep adding petals, one by one, starting with the smaller ones and working your way to the big, bold blooms. Once your flower is full, seal the deal with a dab of glue at the base.
OOLY White DIY sketchbook a scissors and OOLY Magic Puffy Paint marker in green, with three leaves.
OOLY magic puffy paint marker in green drawing dots on green paper leaves, 6 of them.
Completed pastel paper flower in pink and yellow
Step 8: Leaf It to Me
Cut out some leaf shapes from your OOLY White DIY Cover Sketchbook and color them with OOLY Pastel Hues Markers. Add a fine line or some playful polka dots with OOLY Magic Puffy Pens, and glue those leafy lovelies onto your stem. Voilà—your flower is looking fantastic!

Girl holding pastel paper flowers
Now you’ve got a bouquet that never wilts and always wows! Pop them in a vase, gift them to a friend, or turn them into wearable flair for your next garden party. With OOLY markers and a little whimsy, you can craft your way to a perpetual spring. The best thing about these blooms? No watering required! Because let’s face it, real flowers don’t thrive like these beauties do.

So what are you waiting for? Let your creativity take root and grow wild!
We would love to see photos of your craft projects! Tag us on Instagram at @WeAreOOLY using #OOLYcreateyourhappy.

Reading next

Three Pastel Butterfly paper crafts hanging on the wall next to other decorations and plants
Celebrate Earth Day with an Easy DIY Craft: Upcycled Egg Carton Mushrooms!