Sparkly Mermaid Crafts for Kids Made With Cardboard
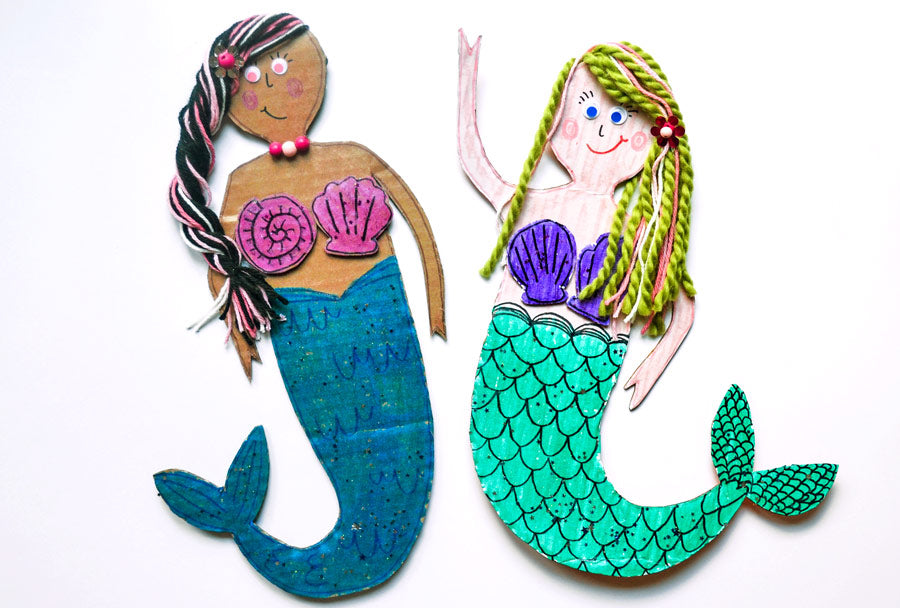
Celebrate a swimmingly good summer with sparkly mermaid crafts! Using all of your favorite art supplies, create a mermaid as unique as you! Read below for the full tutorial to make your own.

Materials Needed:
Step 1:
Draw the outline of a mermaid and two shells onto a piece of cardboard using a pencil. Cut the outlines out with scissors. Looking online for examples/inspiration can help with creating your mermaid outline.

Step 2:
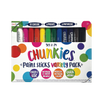
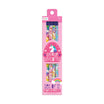
Choose a metallic color paint stick from the Chunkies Variety Pack to color your mermaid’s tail. Choose a different color of metallic paint sticks to paint the two shells -- this will be your mermaid’s top. Remember, you can easily blend 2 colors together to create a new color!

Step 3:
Pick one of the
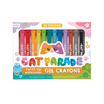
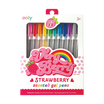
Rainbow Sparkle Gel Crayons to color in the top half of your mermaid. Since these are gel crayons, you can use a wet paintbrush to spread the colors. I found that using circular motions with the brush helps spread the color evenly.

Step 4:
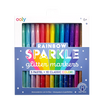
Once all of your paint has dried, select a couple of the
Rainbow Sparkle Glitter Markers to add details like scales to your mermaid’s tail and shells. I created the scales using rows of half circles.

Step 5:
Add some sparkle by brushing glitter onto your mermaid’s tail and shells. Each jar has a brush attached to the cap, making it easy and clean to add glitter!

Step 6:
Use a hot glue gun to glue the mermaid’s shells onto her body.

Step 7:
Draw & color in your mermaid's face using Rainbow Sparkle Glitter Markers, and add googly eyes with a bit of glue. Don't forget to draw on some eyelashes too!

Step 8:
Create your mermaid’s yarn hair by cutting 10-15 equal length pieces of yarn. Cut the yarn longer than you think you want the mermaid’s hair to be- you can always trim it once it is in place. You can choose one color of yarn or mix a few together to add some fun highlights! Line up the yarn so that the ends are together and aligned. Then cut a shorter piece of yarn to tie it into a bundle at one end.

Step 9:
Use the hot glue gun to glue the tied end of the yarn bundle onto the back of your mermaid’s head. Glue the yarn bundle off to either the left or right side. Gently pull the yarn over to the front of your mermaid’s face and arrange it into the style you like. You can choose to braid the yarn, or pull a few pieces to either side of her face. Once you like the arrangement, use the hot glue to help secure the yarn in place. Give it a trim if needed!

 These DIY mermaid crafts make great wall hangings, party décor, or a mermaid-themed crafting party that everyone will enjoy!
This is a guest post by Emily Limer from Making with Mommy. Follow her on Instagram for more kids’ craft ideas @makingwithmommy
Click the links to shop our full online store or get more craft ideas today!
 Celebrate a swimmingly good summer with sparkly mermaid crafts! Using all of your favorite art supplies, create a mermaid as unique as you! Read below for the full tutorial to make your own.


 These DIY mermaid crafts make great wall hangings, party décor, or a mermaid-themed crafting party that everyone will enjoy!
This is a guest post by Emily Limer from Making with Mommy. Follow her on Instagram for more kids’ craft ideas @makingwithmommy
Click the links to shop our full online store or get more craft ideas today!


