

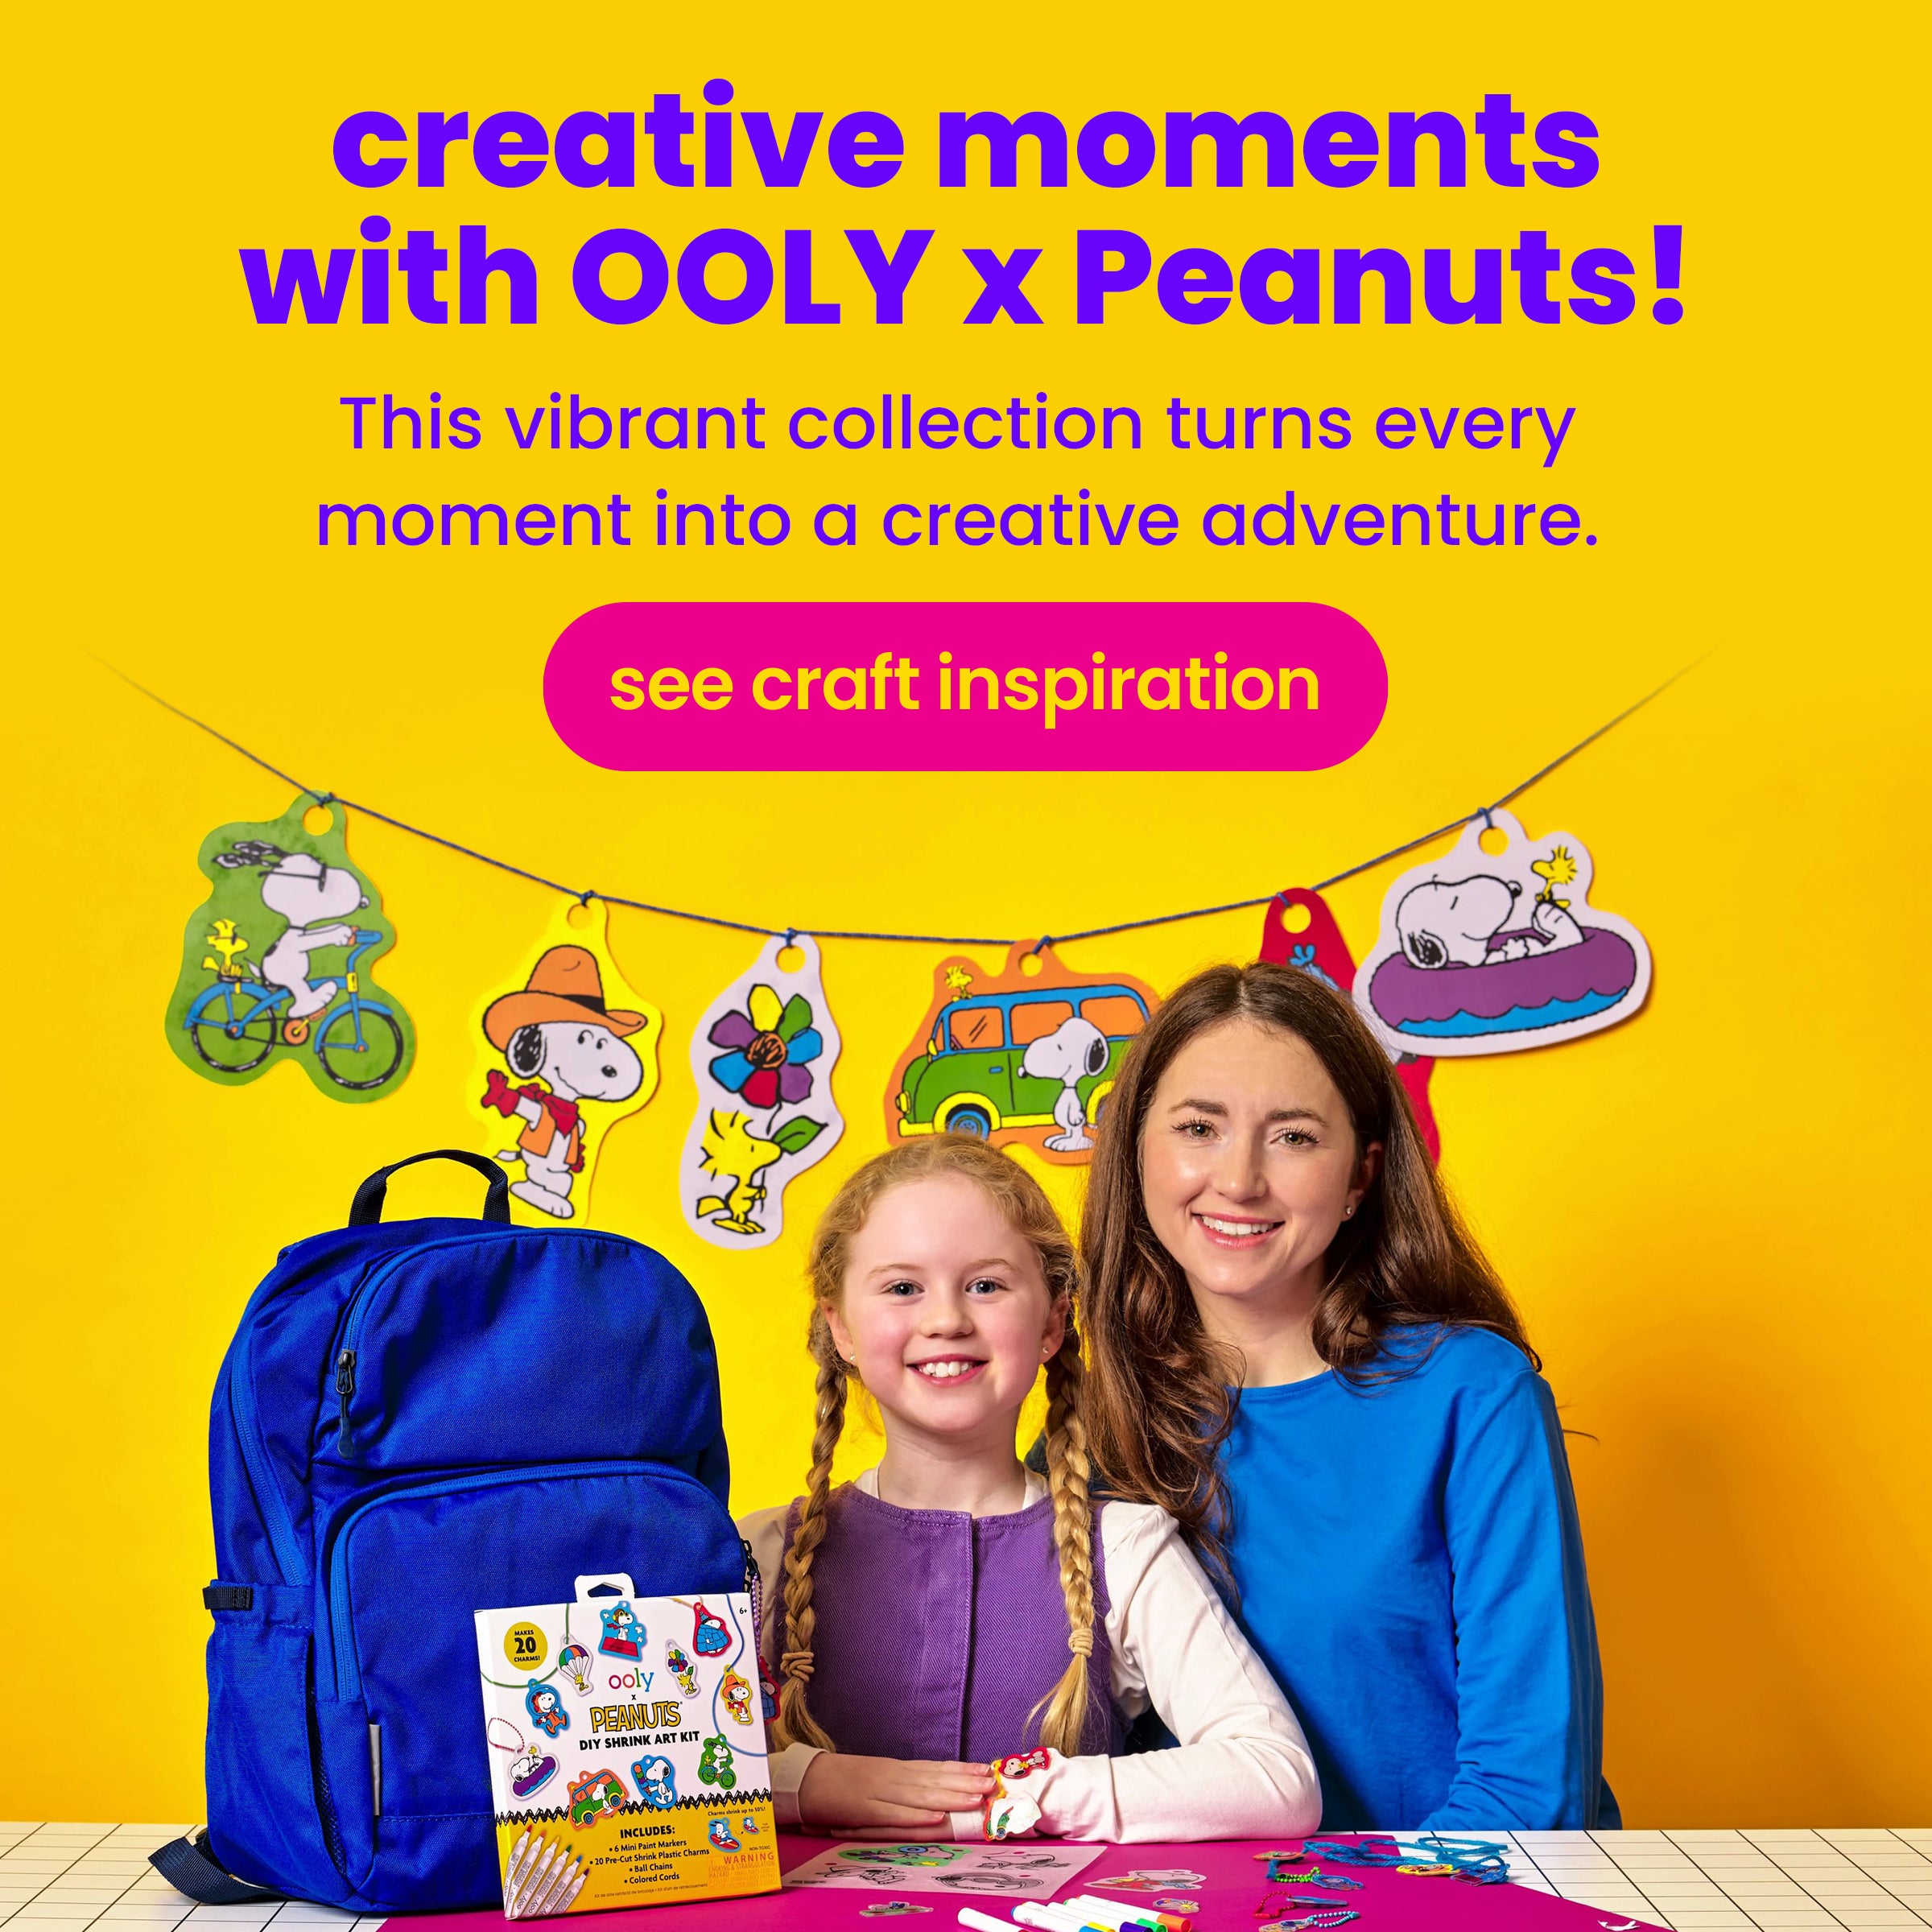
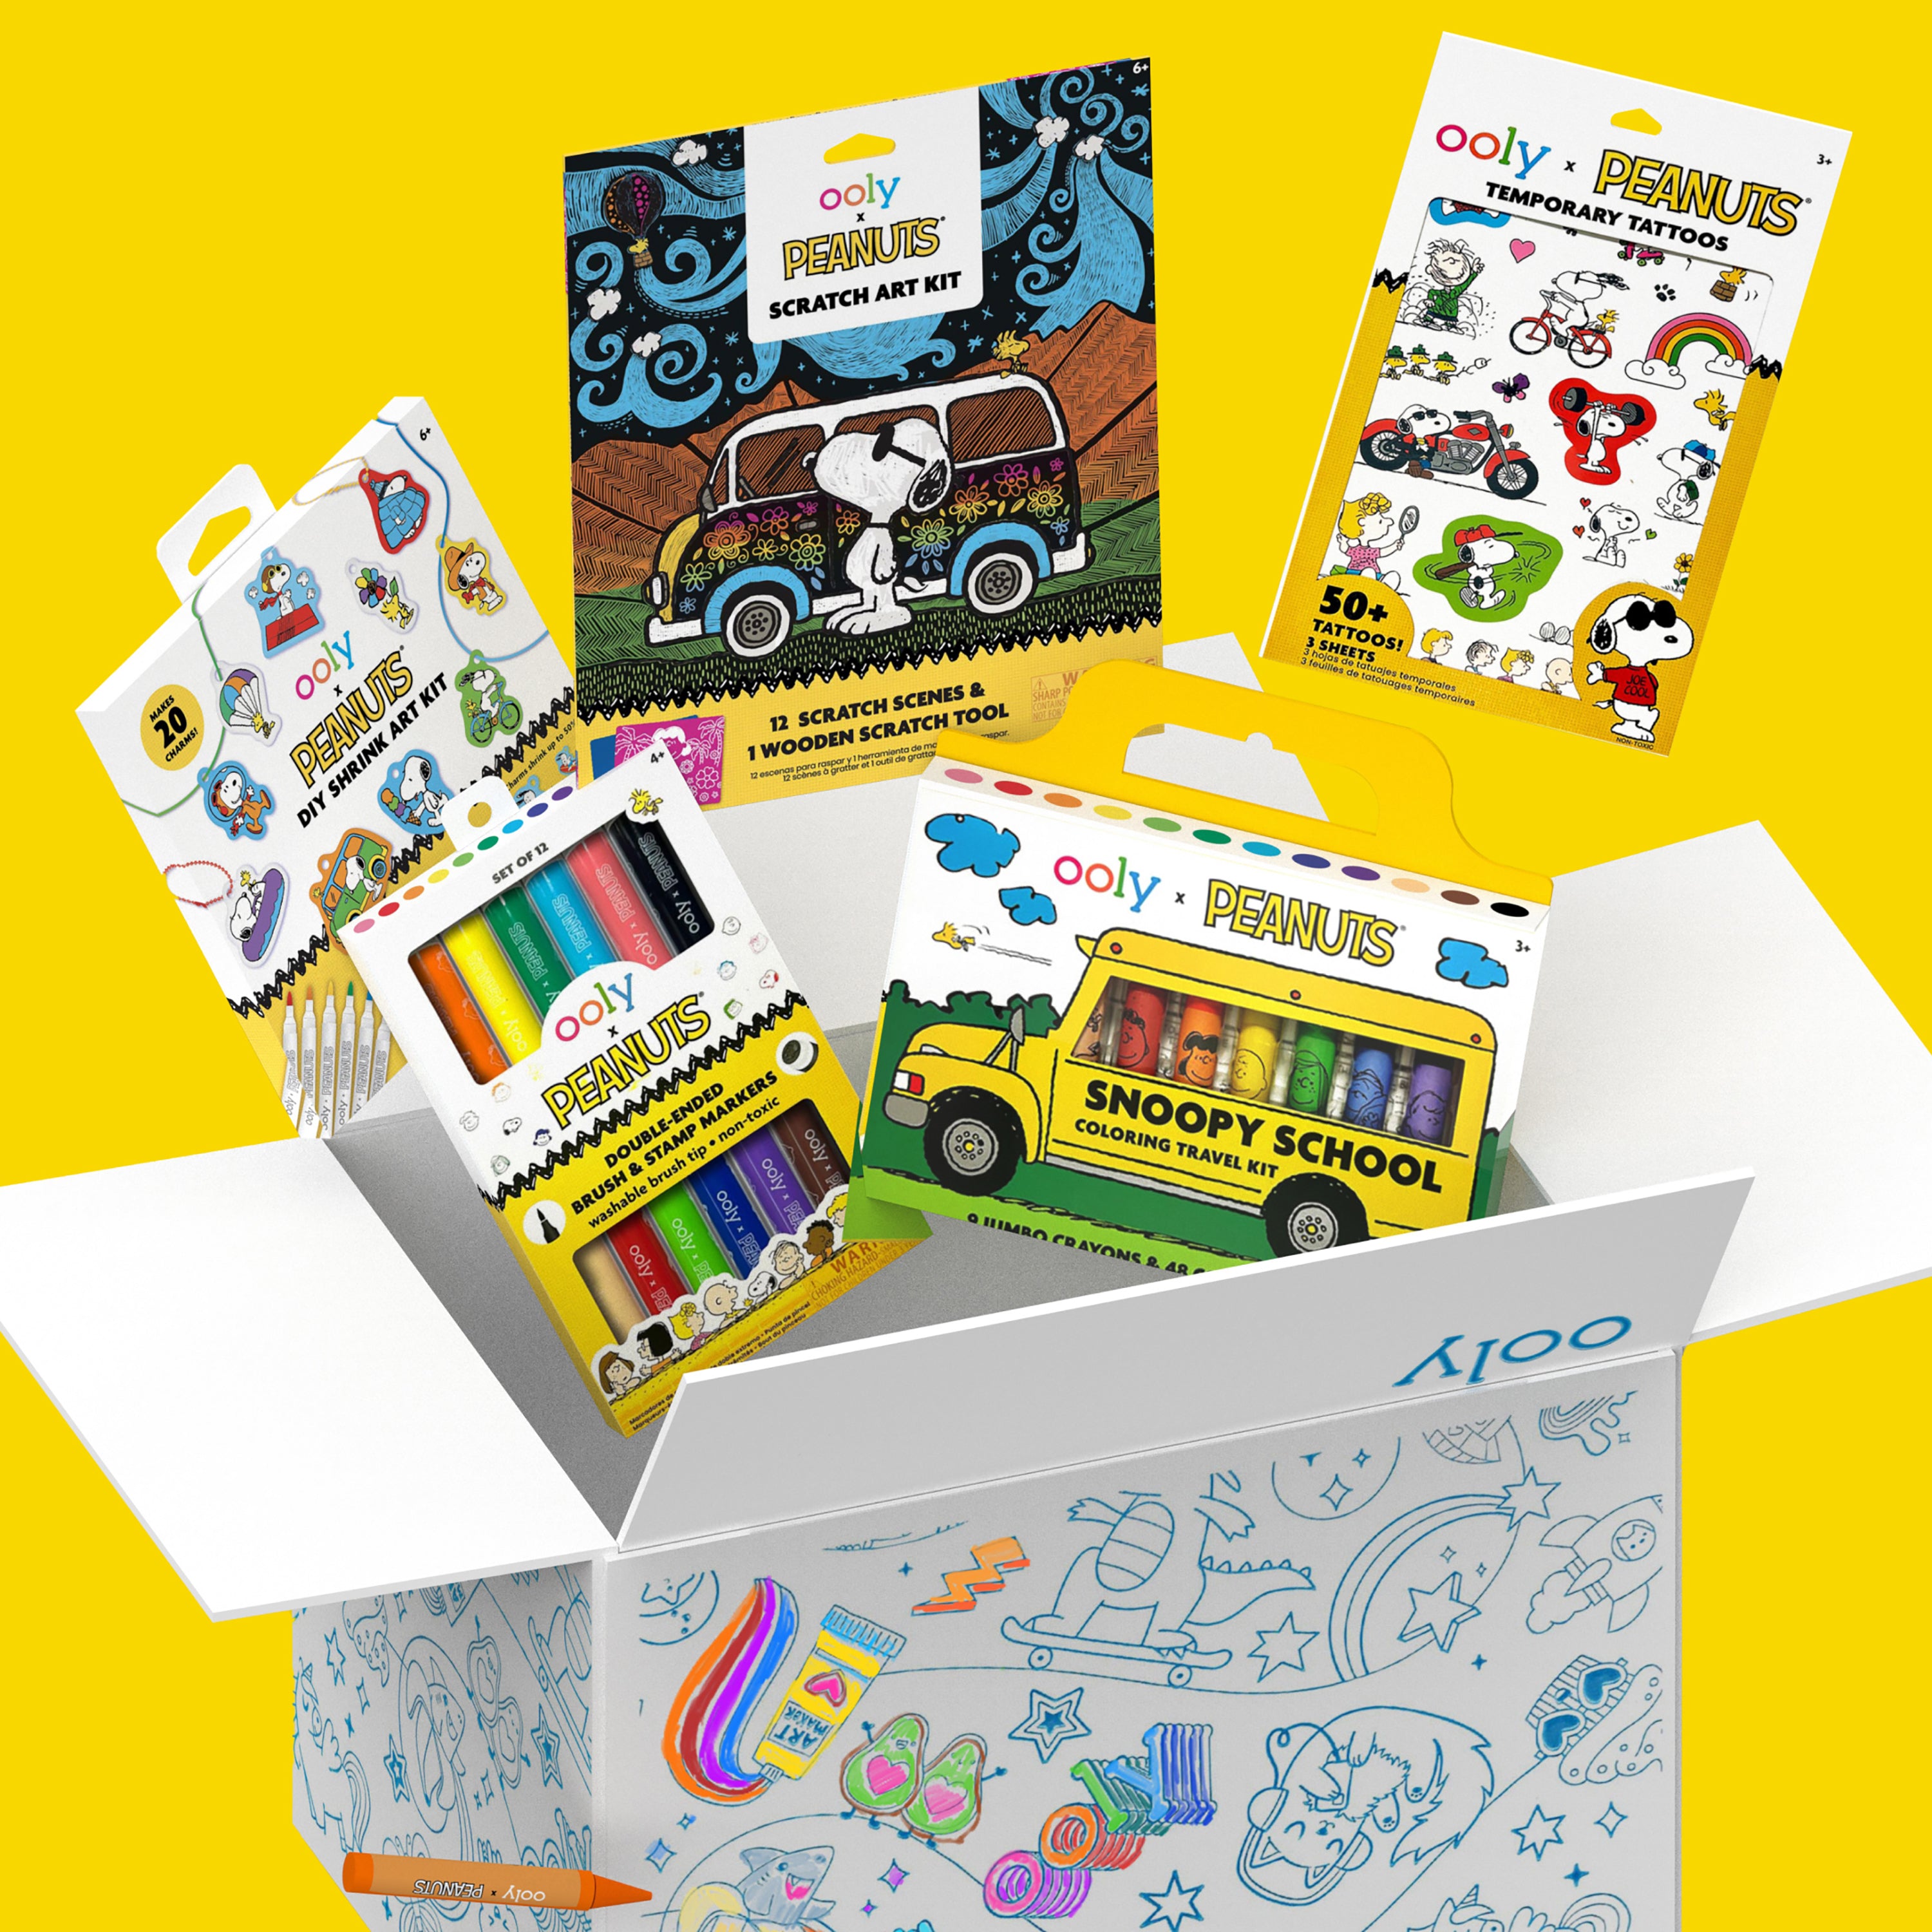


Craft blog by: OOLY
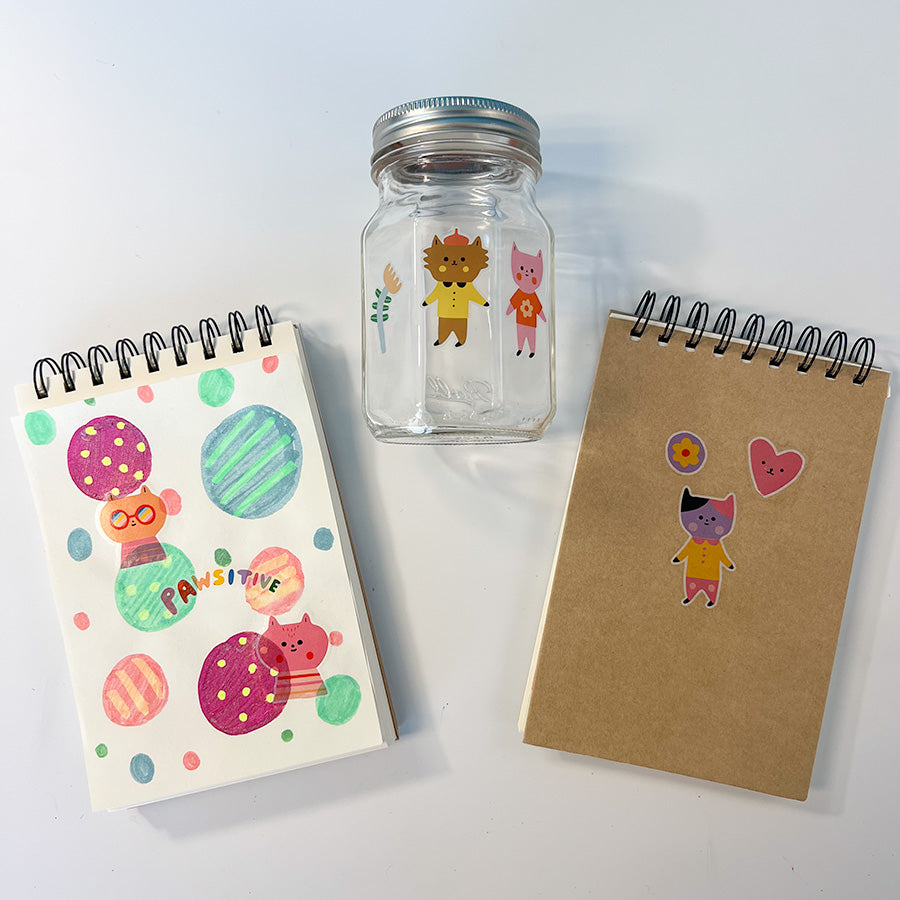
Who says temporary tattoos are just for skin? With OOLY Pawsitive Cats Temporary Tattoos from the OOLY x Suzy Ultman Collection, you can take your creativity to the next level and decorate a variety of surfaces! From designing custom mason jars and crafting vibrant mixed-media art to personalizing your sketchbook, the possibilities are endless. Here are three fun and easy ways to use OOLY Temporary Tattoos that are perfect for kids and adults alike. Let’s get crafting!
Decorate Mason Jars

Time Duration: 15 minutes
Skill Level: Beginner
OOLY Products Needed:
Other Items Needed:
- Mason Jar
- Water
- Paper Towel
- Scissors (adult supervision required)
Directions:

Step 1: Look through the adorable OOLY Pawsitive Cats Temporary Tattoo sheet and pick your favorite design. Carefully cut it out (adult supervision advised).

Step 2: Peel the clear film off the temporary tattoo. Then, place it face down on your mason jar, right where you want the cute design to appear.


Step 3: Take a wet paper towel and press it firmly on the back of the tattoo for at least 30 seconds. Make sure you hold it long enough so the magic happens.

Step 4: Gently peel away the paper backing to reveal your purr-fect little tattoo on the jar.
Step 5: Add as many designs as you want to your mason jar. Once you’re done, use your jar to store OOLY markers, pens, or other fun items.
Create Mixed Media Art

Time Duration: 10 minutes
Skill Level: Beginner
OOLY Products Needed:
- White DIY Cover Sketchbook
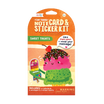
- Tattoo-Palooza x Suzy Ultman: Temporary Tattoos Mini Pack - Pawsitive Cats
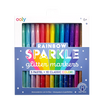
- Switch-Eroo Sparkle Glittery Color Changing Markers - Set of 12
Other Items Needed:
- Water
- Paper Towel
- Scissors (adult supervision required)
Directions:


Personalize Your Sketchbooks

Time Duration: 10 minutes
Skill Level: Beginner
OOLY Products Needed:
- White DIY Cover Sketchbook
- Tattoo-Palooza x Suzy Ultman: Temporary Tattoos Mini Pack - Pawsitive Cats
Other Items Needed:
- Water
- Paper Towel
- Scissors (adult supervision required)
Directions:

Step 1: Look at all the adorable OOLY Pawsitive Cats Temporary Tattoos and pick your favorite one to decorate the cover of your OOLY White DIY Cover Sketchbook.


Step 2: Cut out your chosen OOLY temporary tattoo and peel off the clear film. Place it on the cover of your DIY White Paper Sketchbook and use a wet paper towel to press down on the tattoo for at least 30 seconds.
Step 3: Carefully remove the paper backing to see your tattoo transferred onto the sketchbook cover. Add as many tattoos as you like to make your sketchbook one-of-a-kind and full of personality!
With OOLY Pawsitive Cats Temporary Tattoos, your imagination is the limit! Whether you’re transforming mason jars into charming storage containers, crafting unique mixed-media art, or designing personalized sketchbook covers, these tattoos are a playful and versatile addition to your creative toolkit. Ready to make your next project stand out? Grab your favorite OOLY tattoos and let the fun begin!
We would love to see photos of your craft projects! Tag us on Instagram at @WeAreOOLY using #OOLYcreateyourhappy.
2021 Crafts using OOLY Temporary Tattoos


SHELL DECORATING
Gather your supplies:- Beach shells (either found at the beach or at a craft supply store)
- Tattoo-Palooza Temporary Tattoos - Mermaid Magic
- Scissors
- A wet paper towel
- Begin by cleaning the beach shells. We found the temporary tattoos to work best on shells clear of sand and dirt and without paint already on them.
- Decide which temporary tattoo you would like to use on your shells. Lift off the clear layer that sits on top and press the tattoo image side down onto the shell. Place the wet paper towel on top of the temporary tattoo and hold for thirty seconds.
- When the time is up, take the wet paper towel away to reveal the tattoo!

MINIATURE POTS AND PAILS
This is a great way to encourage kids to be active outside or in the garden, and they make the perfect addition to a garden of any size! Gather your supplies:- Miniature sand pails and flower pots (found online or at a craft supply store)
- Tattoo-Palooza Temporary Tattoos – Princess Garden
- Scissors
- A wet paper towel
- Begin by wiping the pots and bails clean with a damp cloth.
- Next, decide which temporary tattoo you would like to use and repeat the whole process again. Lift off the clear layer that sits on top and press the tattoo image side down. Place the wet paper towel on top of the temporary tattoo and hold for thirty seconds.
- When the time is up, take the wet paper towel away to reveal the tattoo!

MERMAID BOOKMARKS
This is a great way for kids to get creative, as well as to encourage their summer reading! Gather your supplies:- Card stock or watercolor paper (sturdy paper works best)
- Tattoo-Palooza Temporary Tattoos – Mermaid Magic Pack
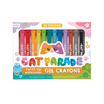
- Rainbow Sparkle Gel Watercolor Crayons
- Scissors
- Hole puncher
- A wet paper towel
- Yarn (optional)
- Begin by cutting out long rectangles from your card stock or watercolor paper.
- Next, use your OOLY gel watercolor crayons to decorate the paper. Begin by drawing on the paper and then use water to spread the colors throughout the paper!
- Once the watercolor is dry, decide which temporary tattoo you would like to use to embellish your bookmarks.
- Lift off the clear layer that sits on top and press the tattoo image side down. Place the wet paper towel on top of the temporary tattoo and hold for thirty seconds.
- When the time is up, take the wet paper towel away to reveal the tattoo!


